When one ponders how to measure a radiator, you may simply think you measure it from one end to the other. However, four vital measurements need to be taken to ensure you get things right.
Of course, nothing lasts forever and there may come the point when you need to replace your radiators, whether it be for upgrading your existing system or for décor purposes. This article will help you to learn how to measure a radiator correctly so when it comes to choosing a new one, the process is easier.
Why is it Important to Know How to Measure Radiator Size Correctly?
It’s essential to know how to measure radiator size as it will help you assess the heating efficiency of your home and radiator system. If a radiator is the wrong size for a room, you’re at risk of under or over-heating your space.
Additionally, if the radiator was fitted over 15-20 years ago, you may have either had new windows or cavity wall insulation installed since the heating was first put in. Again, this might call for updated measurements to be taken to compensate for the additional warmth from the insulation – you might not need the same heat output. Indeed, the radiator could well be incorrect now that you have a home that is essentially leaking heat less than before.
Stelrad has two programmes that can check this, that offer an alternative size that both heats the space and saves you money on your energy bills over the course of a year. Use our heat loss calculator to help you size your heat requirements.
If you’re feeling unsure, you can speak to an expert if you want to check your calculations so that you don’t overspend on your energy bills.
How do you Measure a Radiator? Extra Tips
The following section takes you through a step-by-step guide on how to measure a radiator. You will need the following:
- A tape measure
- Pad and pen or phone notes
Step 1: Measure the length and height of the radiator.
- To measure the height, take the tape measure from the lowest point of your radiator to the highest. If it’s tall, like a vertical radiator, you may need to use a step ladder and get someone to hold the tape. To measure the width, start your tape measure on the furthest point on the left, to the furthest point on the right of your radiator. Again, if it’s a wide radiator, you may need someone to help you.
- At this point, you can use these measurements to compare them to what we have available online in our range of radiators by Stelrad.
Step 2: Measure the pipe centres.
- This means measuring the distance between the two pipes feeding in and out of your radiator. You need to measure from the centre of one to the centre of the other. This is important as you will need to know the exact pipe centre measurement for getting a new one. This will avoid extra costs to rearrange the pipes, should a new radiator have different sizes.
- To measure the pipe centres, place the start of the tape measure from the centre of the left-hand pipe inlet to the centre of the right-hand pipe inlet. When you’re shopping online for a new radiator, the website will list the pipe centre measurements on the product page to help make choosing a new radiator easy.
Step 3: Measure wall surface to pipe centres
- You will need to start the measuring tape and measure the short distance from the wall to the centre of the pipes in millimetres. Again, this measurement is useful, so you don’t have any extra plumbing costs.
Bonus Tips on How to Measure a Radiator
Considering the main measurements you take when learning how to measure radiator size, there are a few things to consider when you are getting a new radiator:
- Do I feel confident that I can measure a radiator?
- Have I got all the tools needed to measure my radiator?
- Is the radiator the right size for the room?
- Can the pipes be moved to accommodate a new one or do I need to use the same pipework?
- Do I need a single (larger) radiator or a double more compact and efficient one? This might impact the new radiator’s wall surface to pipe centre measurement.
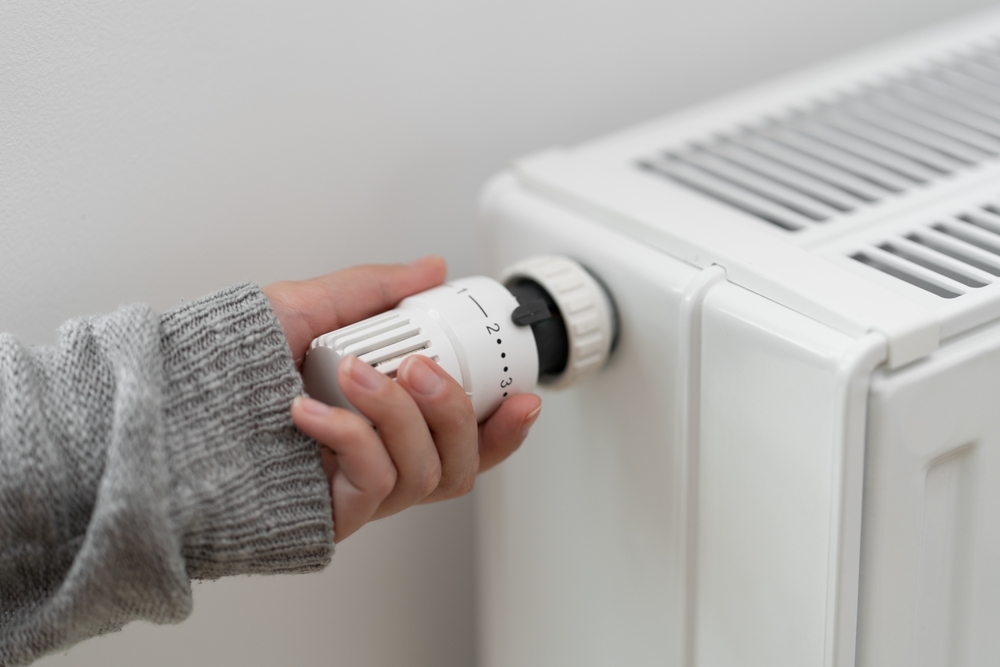
The key thing to remember is that some radiator ranges have been updated, so depending the age of the radiator will depend on the size of the replacement. There are one or two things to consider when measuring a radiator for replacement. If the radiator is old, say more than 15 years old, then the replacement dimensions will need to be checked. If the pipe centres that feed the radiator cannot be moved, there is also some extra thought to confirm the replacement.
Furthermore, before taking off an old radiator, it’s important to remember that your heating system is interconnected with water circulating the pipes throughout the house. Therefore, it’s important to isolate the radiator before taking it off the wall to avoid water flooding the floor.
Additionally, every time you replace, drain, or add new water into a radiator system, you add fresh oxygen-rich water. Oxygen + Water + Metal = rust. There is such a thing as ‘new radiator syndrome’ when all the rust in a system finds a new home in the new radiator, this can be inside a few months! To avoid this from happening, it’s important to check the contents of your system inhibitor and replace any diluted inhibitor once a system is drained or topped up with fresh water.
When a system has had any work to it, always check the pressure of the boiler to ensure correct levels and pressure are present to avoid any call out charges or running issues.
These are an important handful of considerations to take when you learn how do you measure a radiator and consequently carry out the job.
How to Measure a Radiator FAQs
How do I Know What Size Radiator I Need?
If you’re simply replacing an old radiator with a new one, you can take the same measurements as your old radiator to get the replacement. It’s also important to calculate the efficiency of a radiator in British Thermal Units (BTUs) that you’ll need for your radiator. These calculations consider heat loss through windows/doors, type of room, and room dimensions to provide you with advised heat output.
At Stelrad, you can use our heat loss calculator and radiator size calculator to help you with the process.
Where do you measure a radiator from?
When measuring a radiator, there are four vital measurements to take. These include height, width, left pipe centre, right pipe centre, and wall to pipe centres. Wall distance and wall-to-face are also handy to have.
 Next Working Day Delivery£18 For Next Working Day Delivery On All Products*When ordered before 2pm.*T&Cs apply
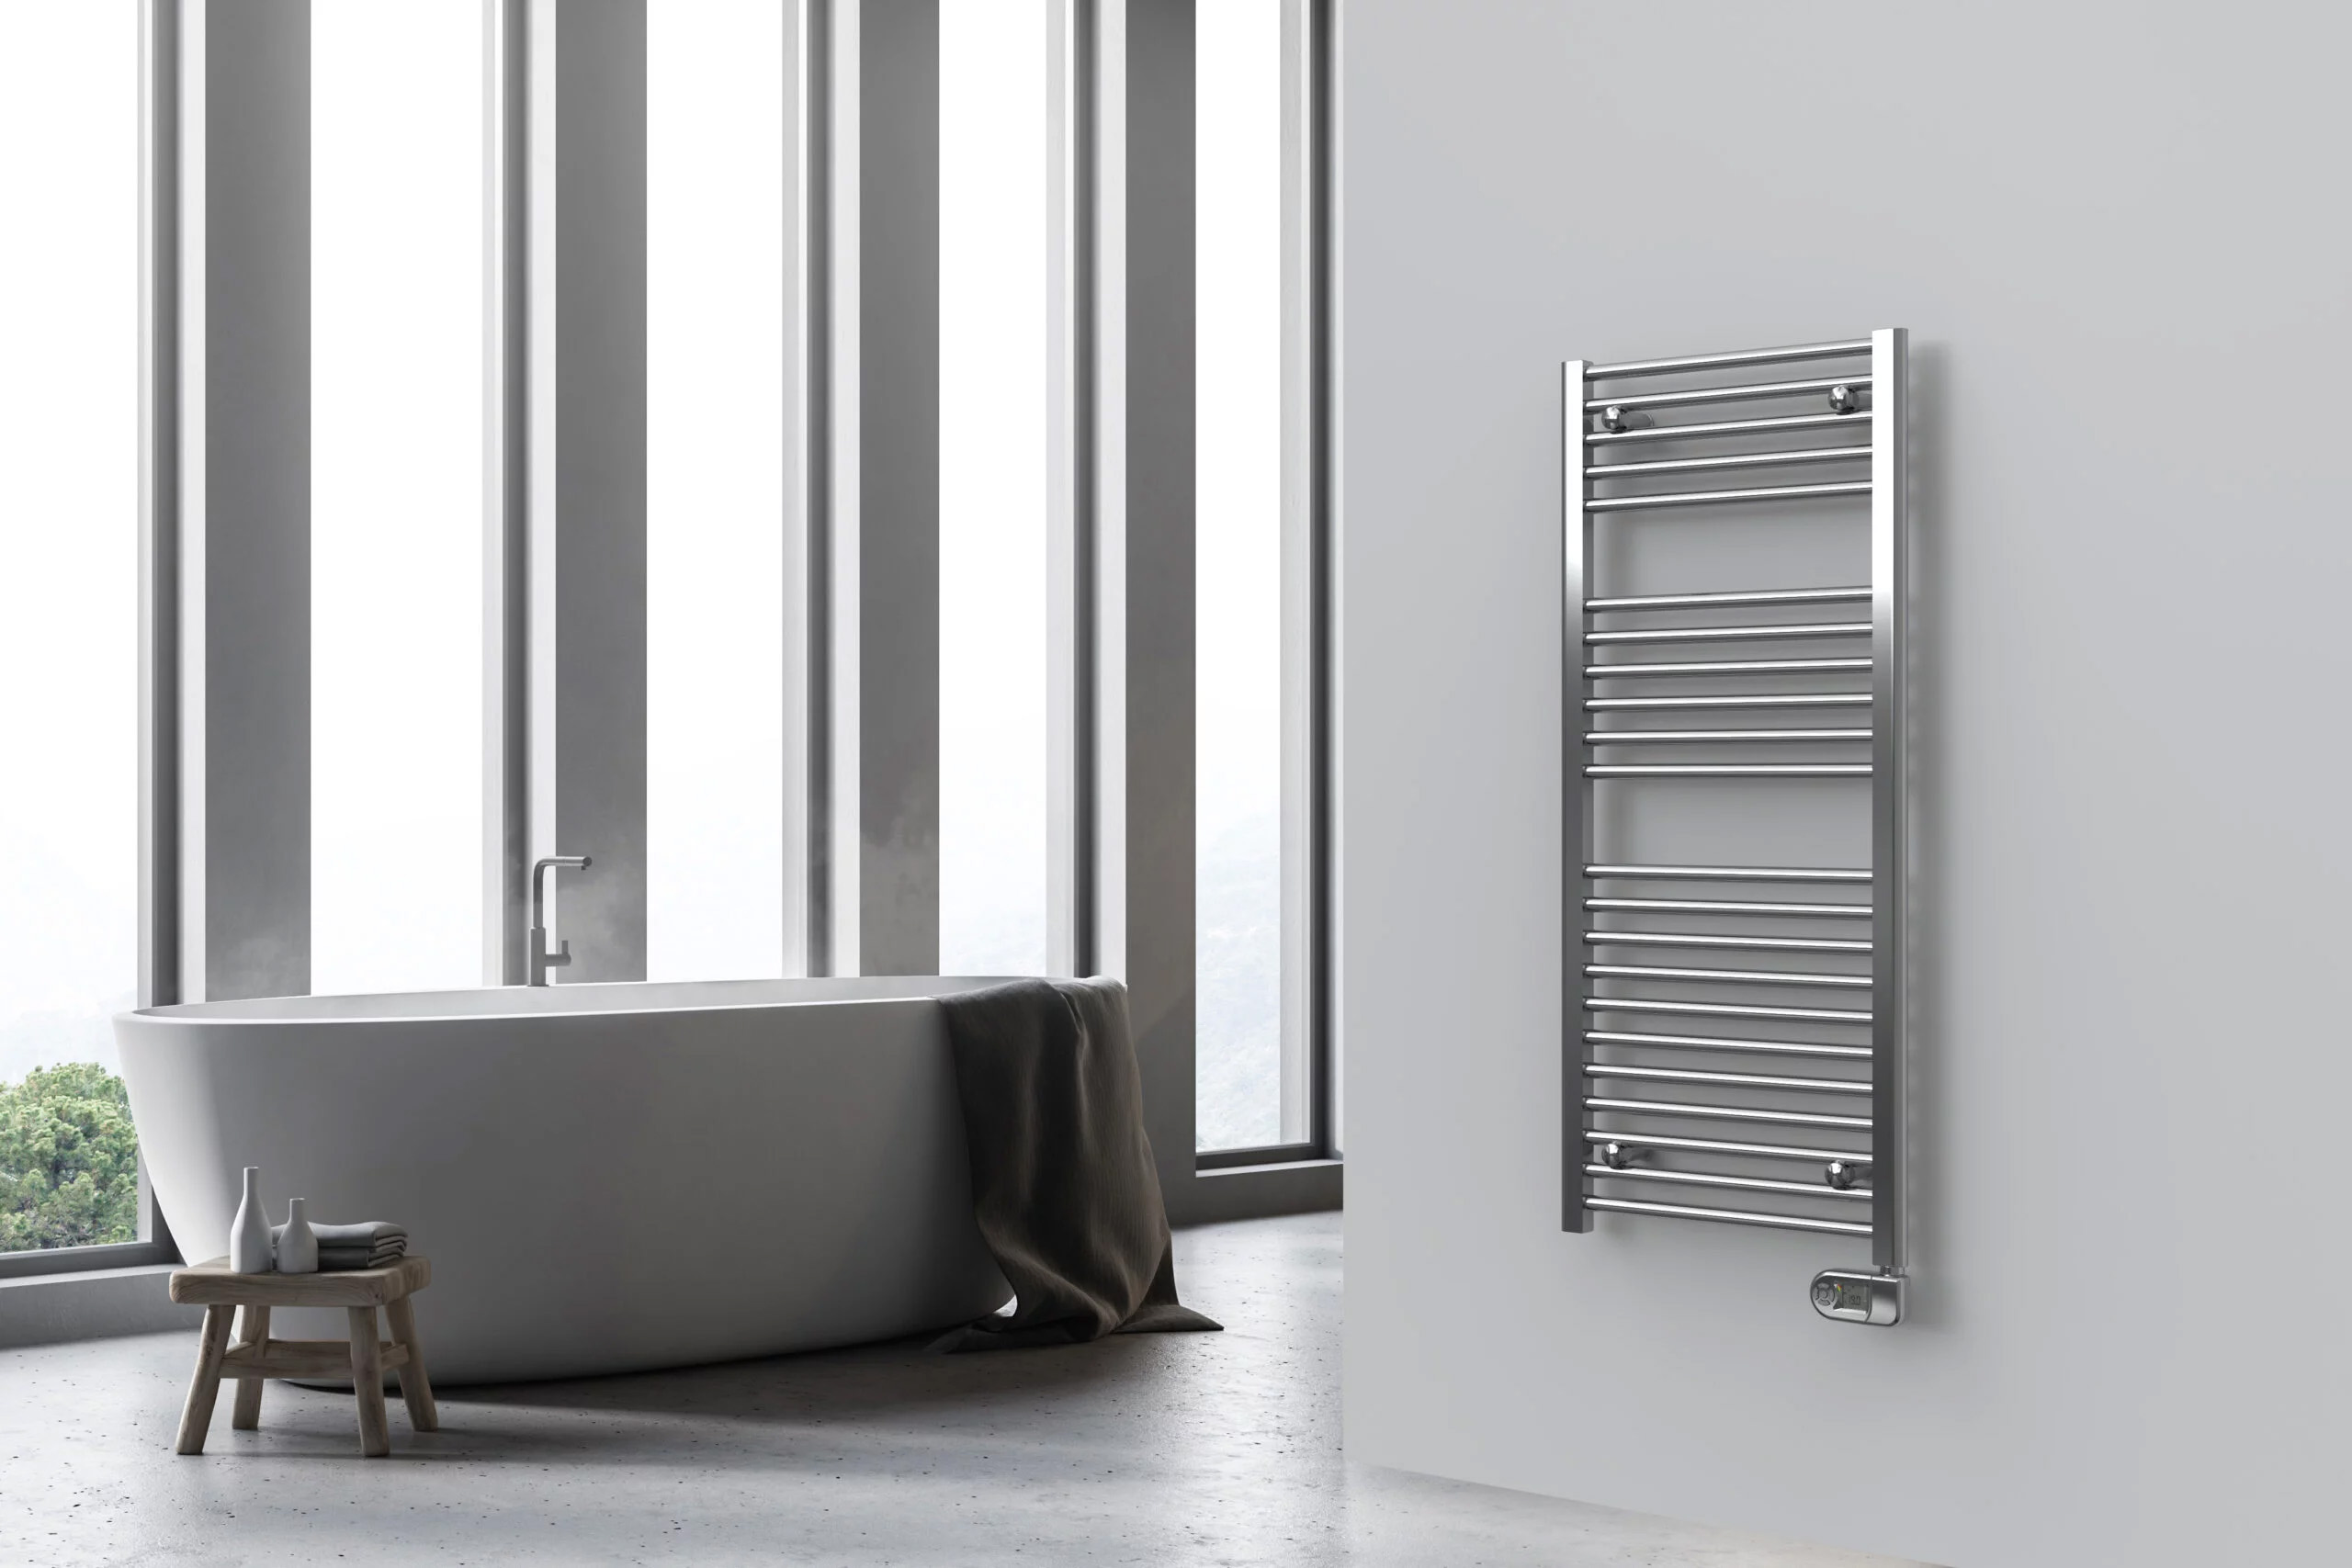
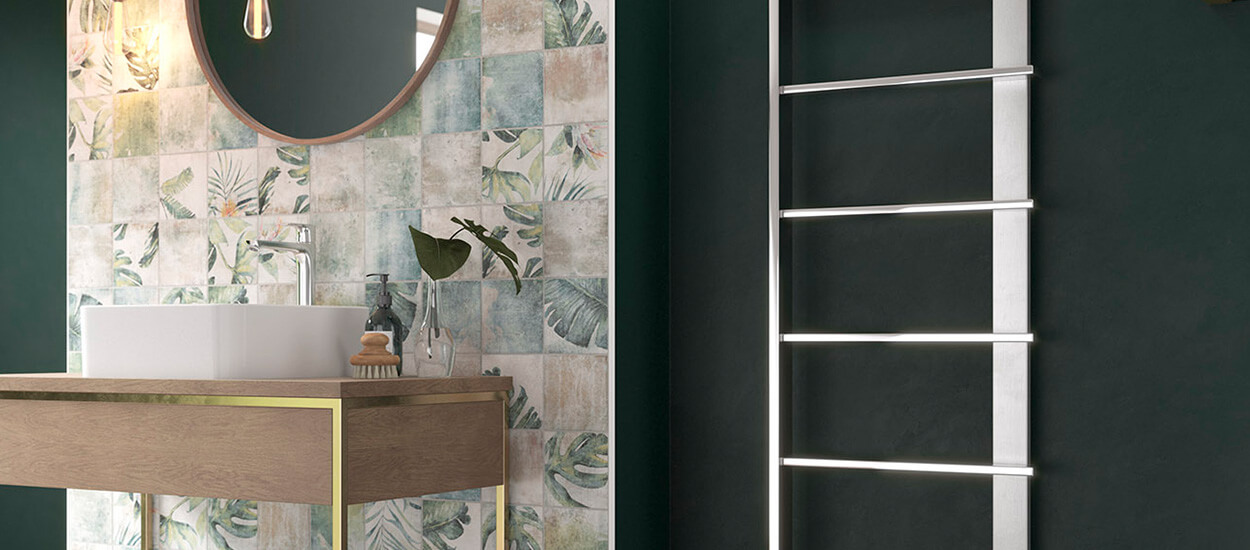
 HOME SERIESConcord Rail Coloured