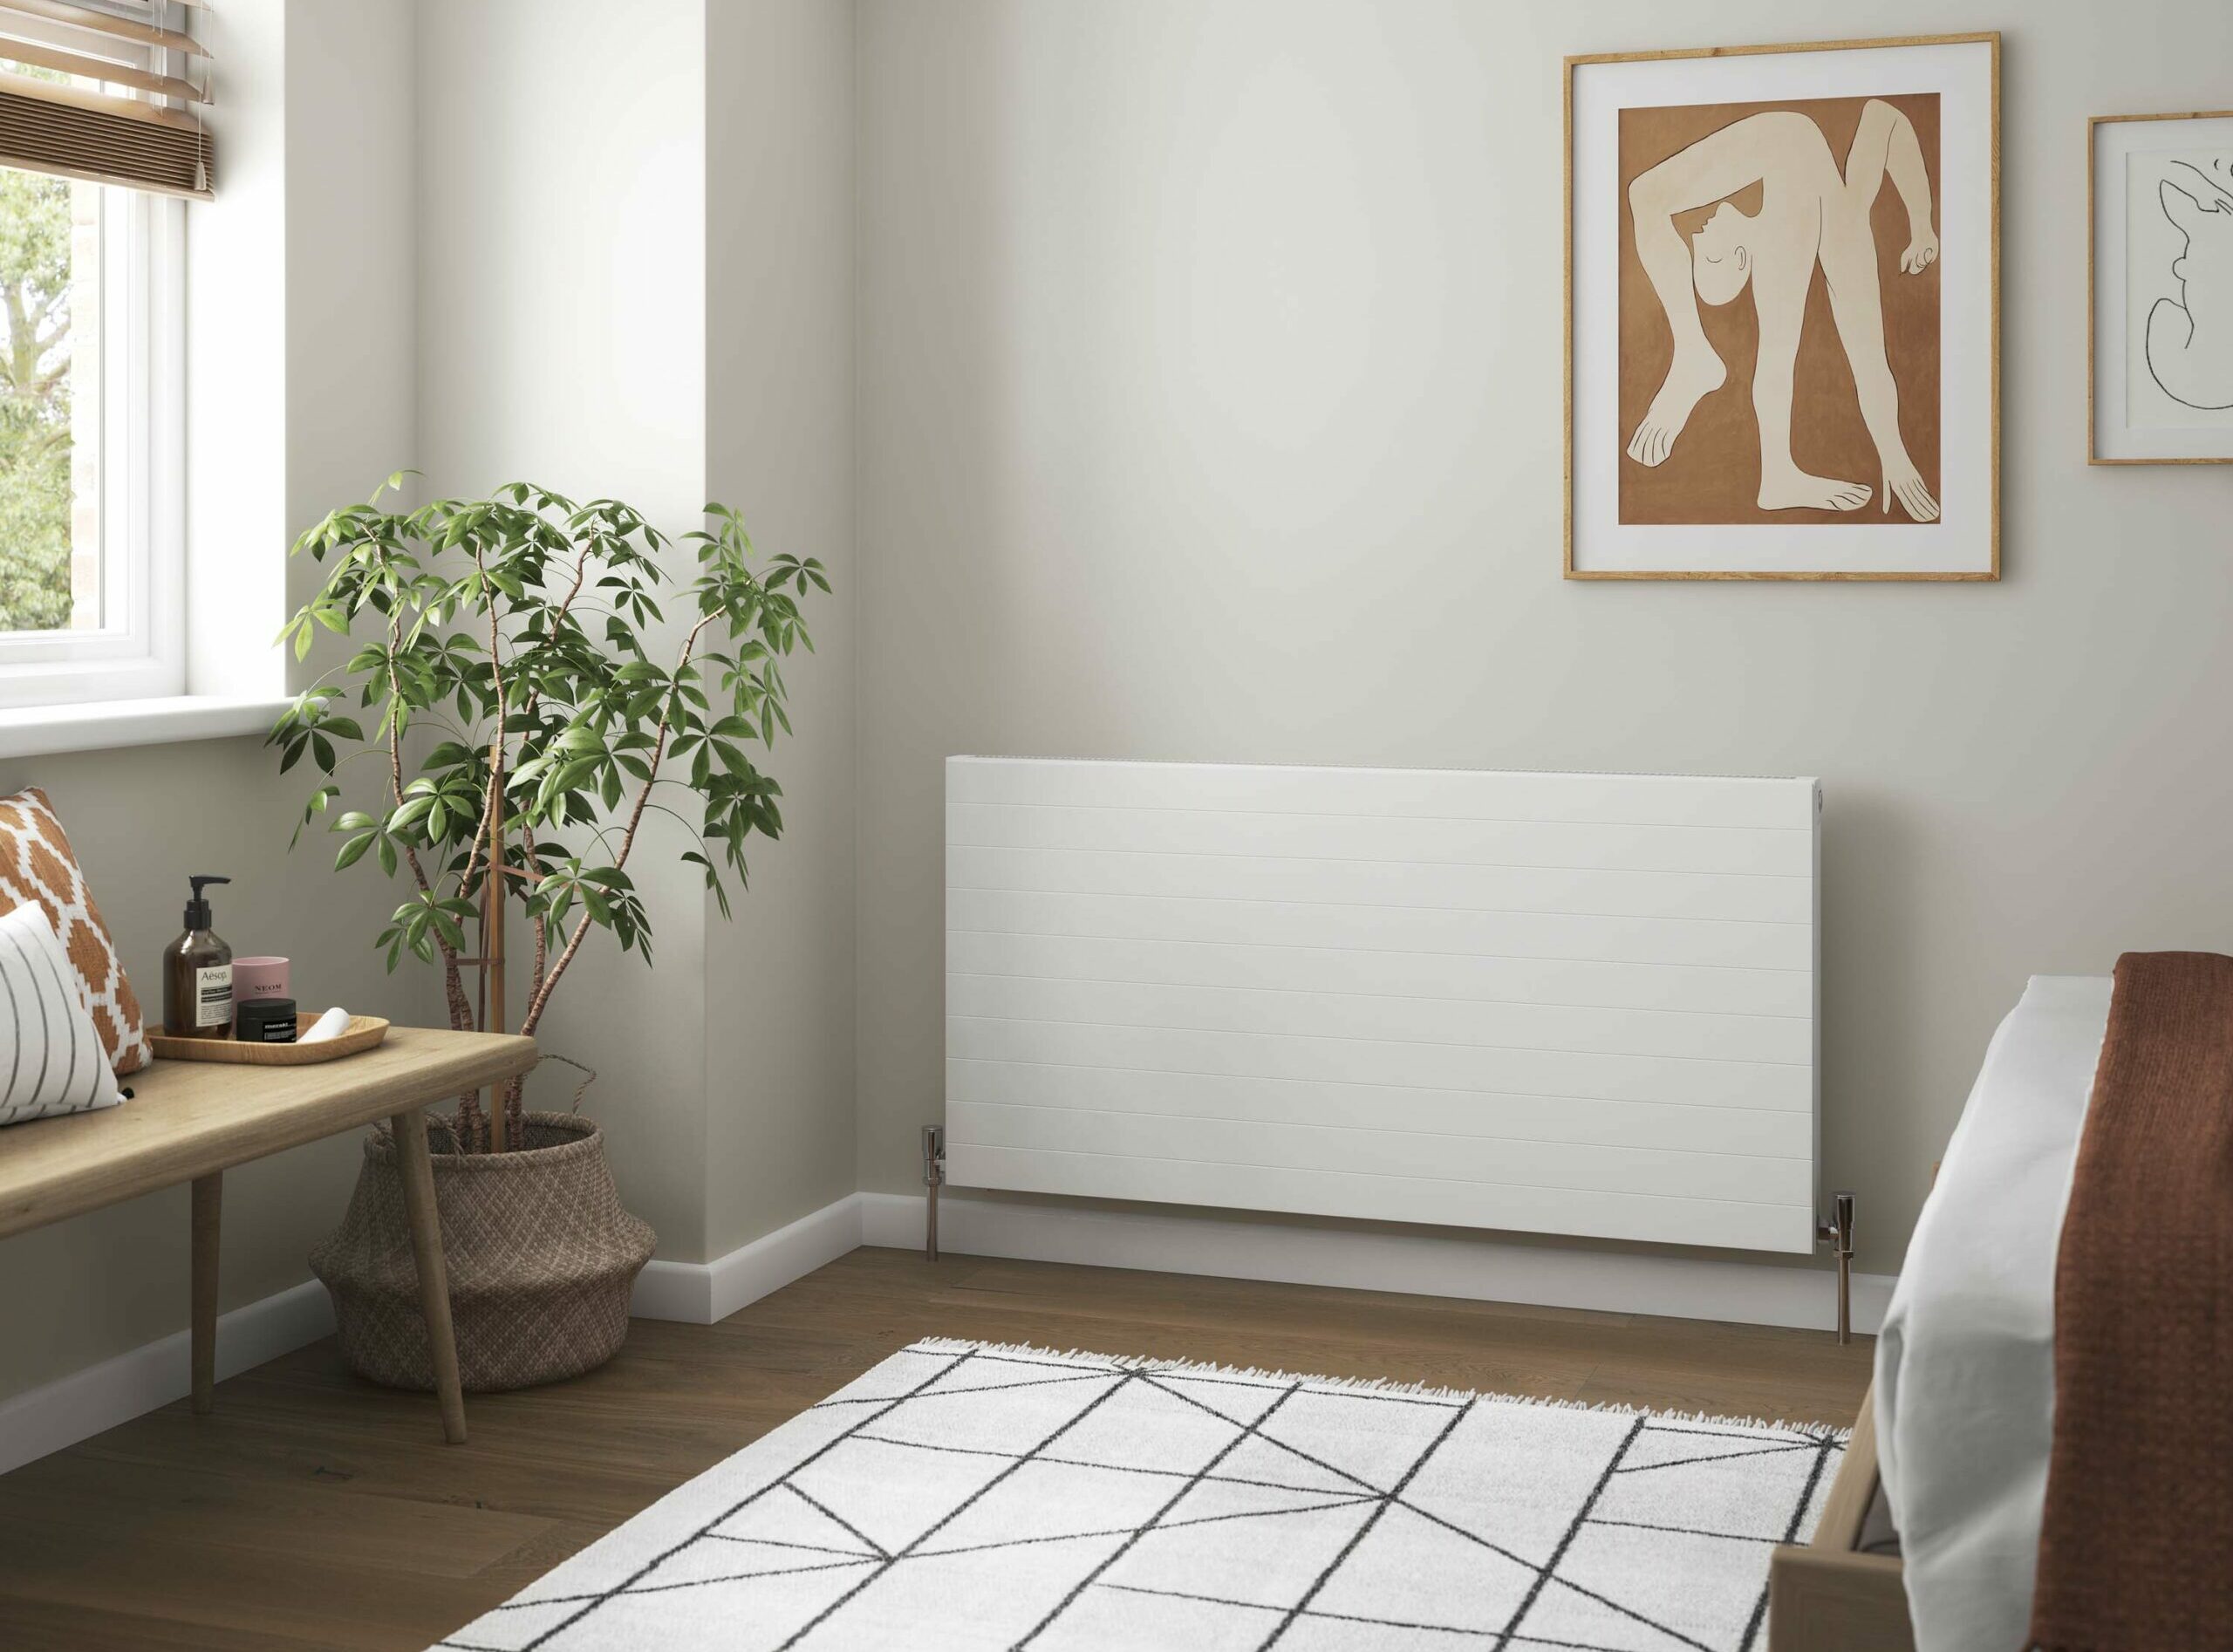
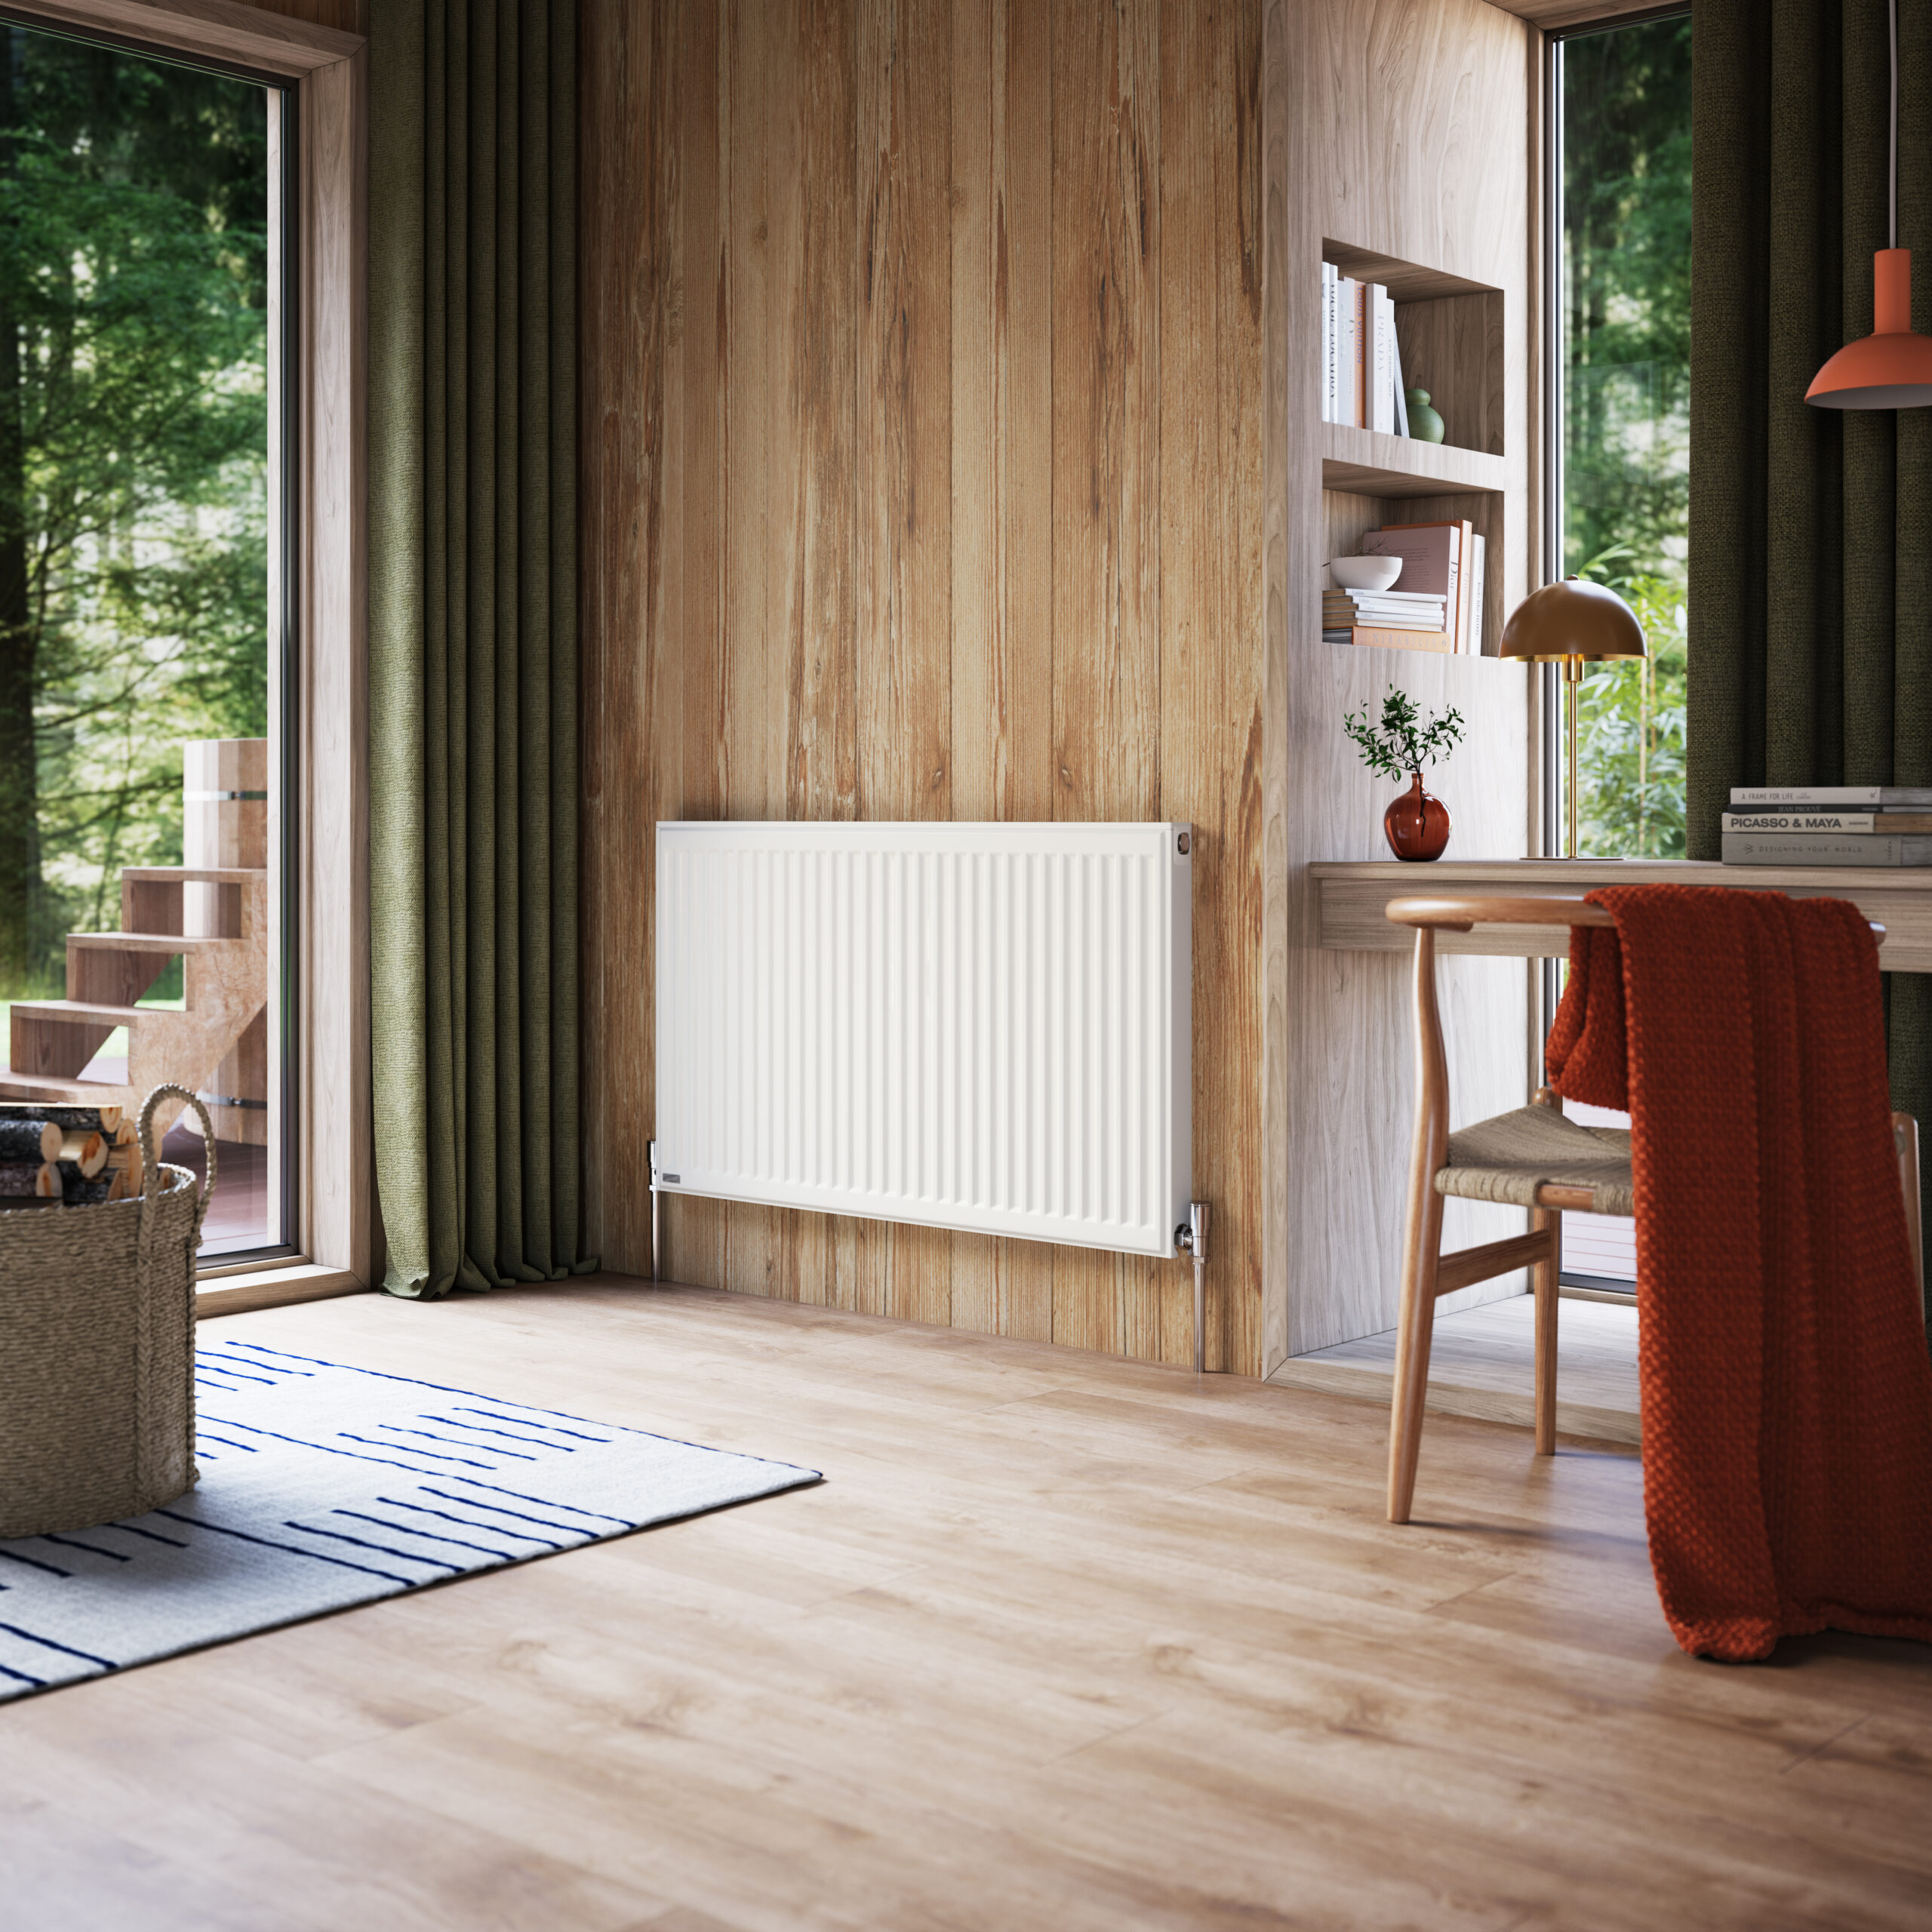
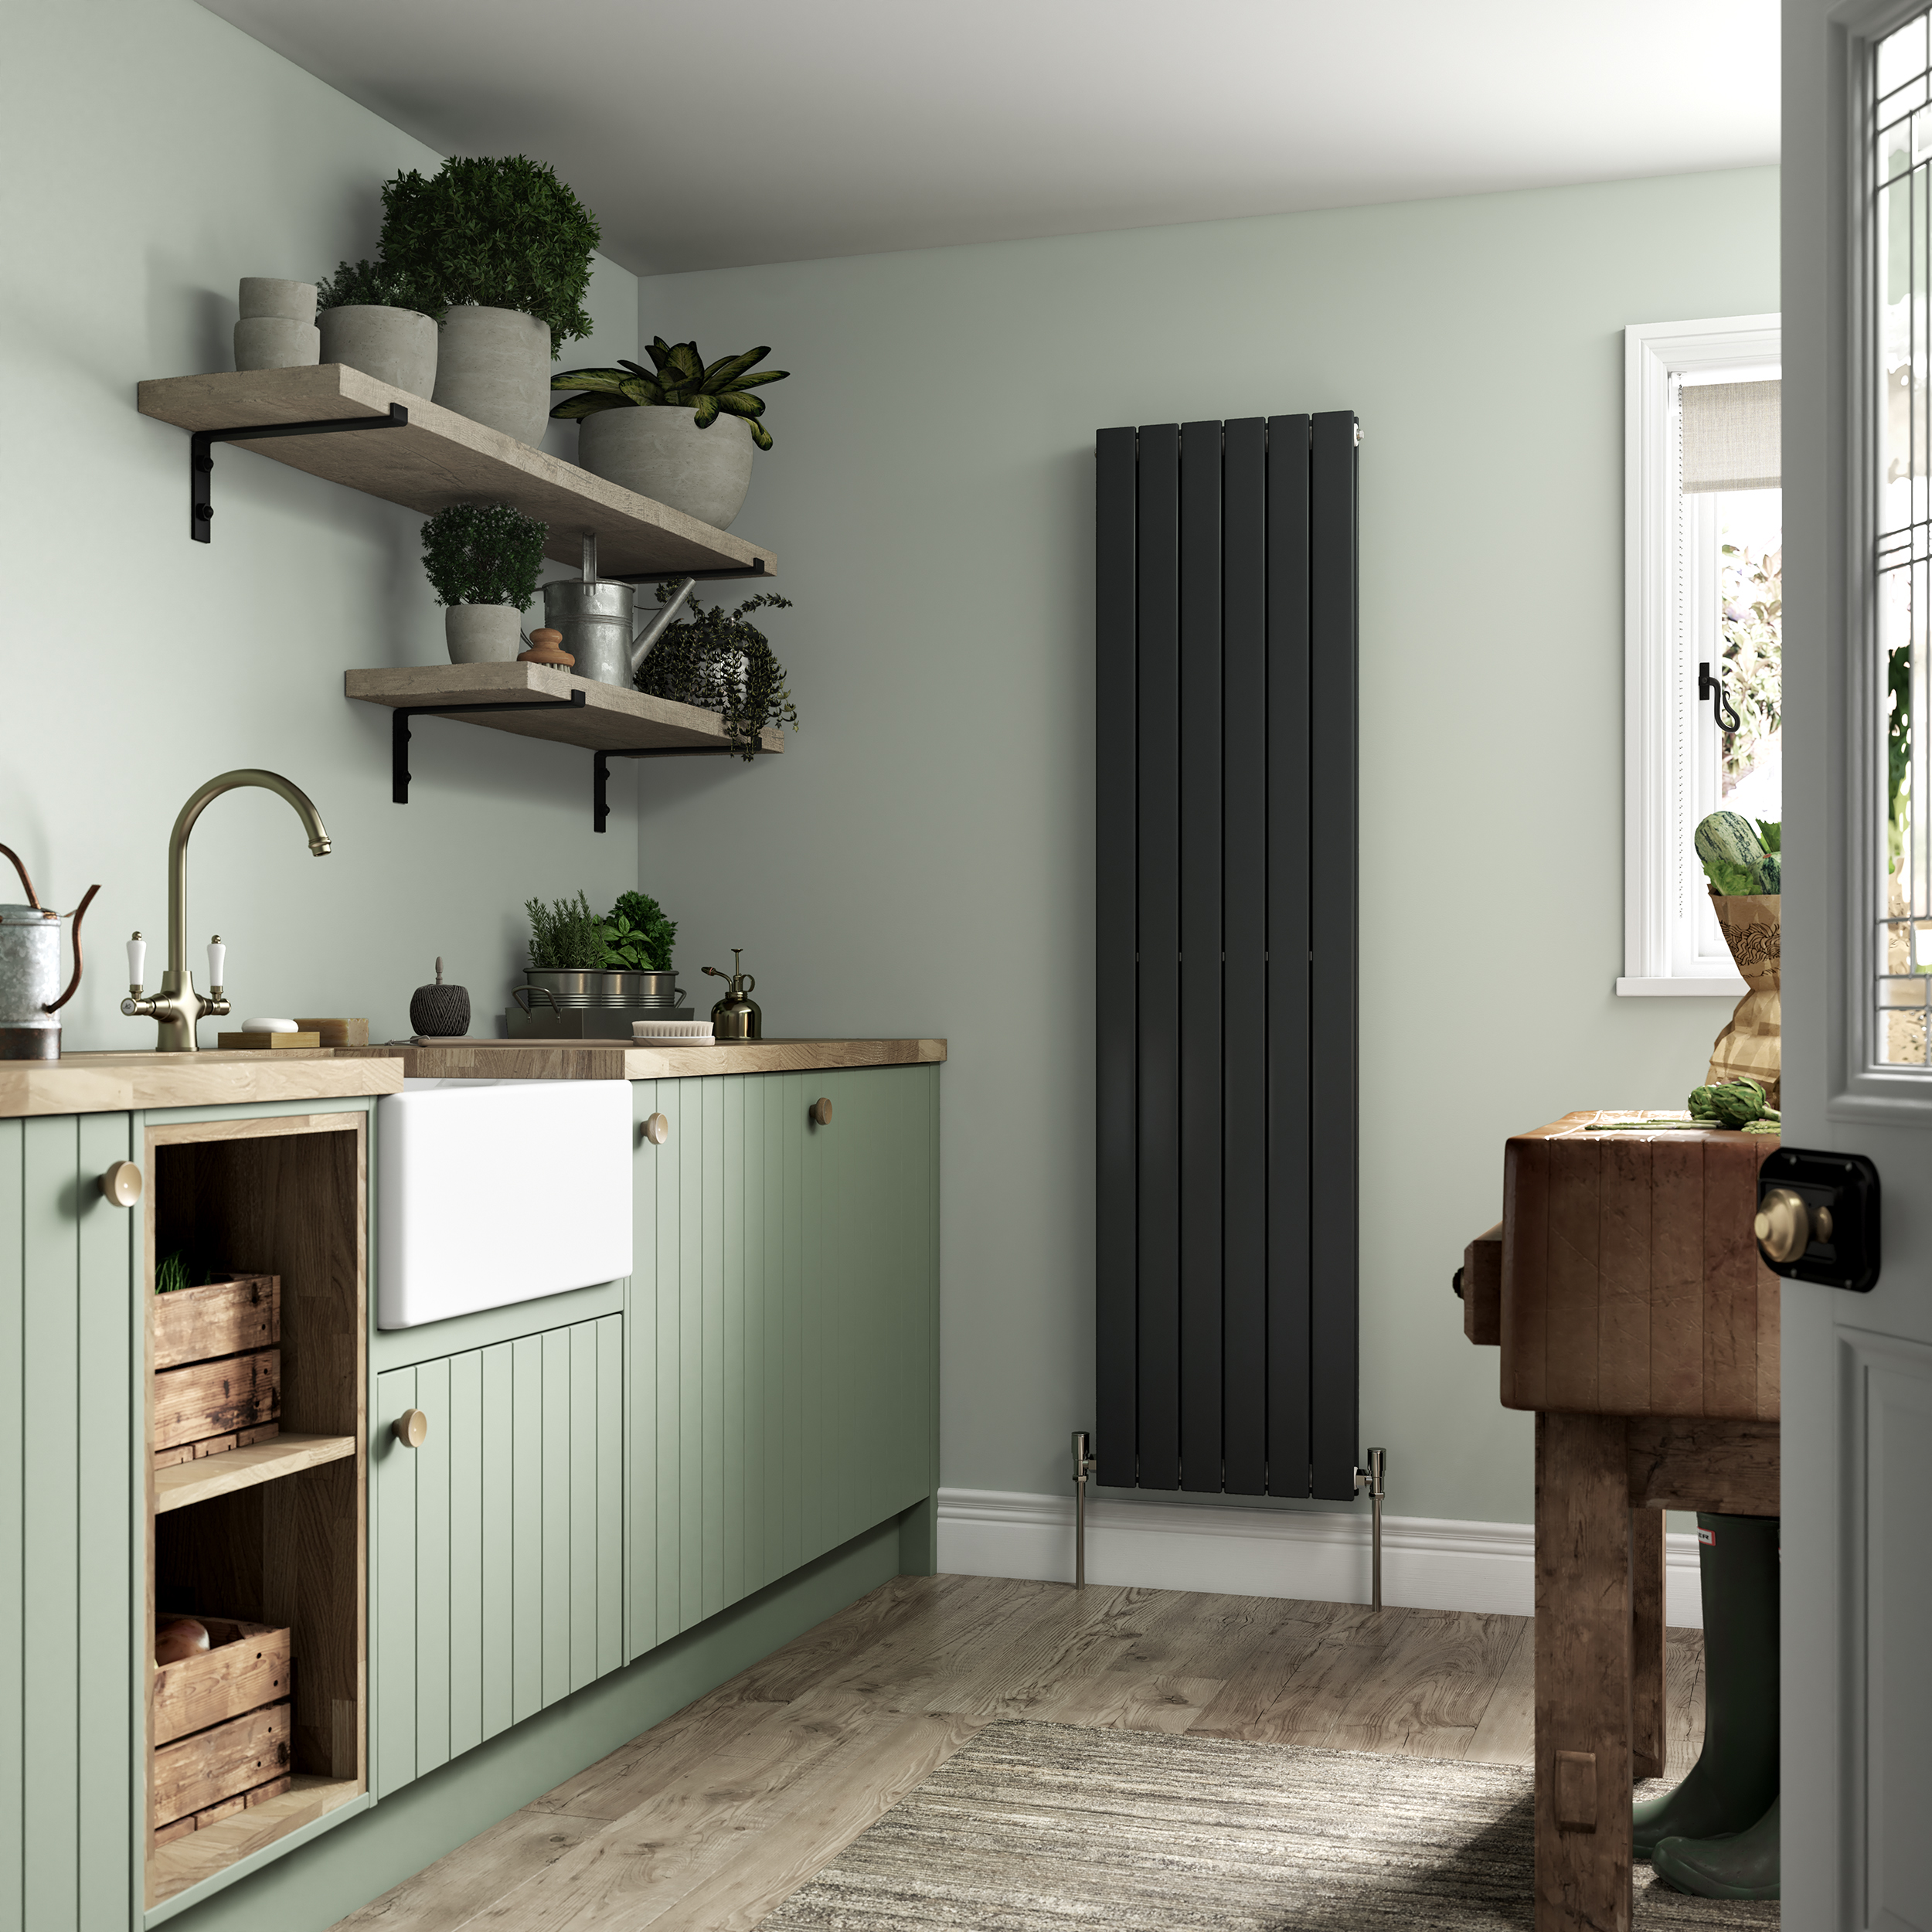
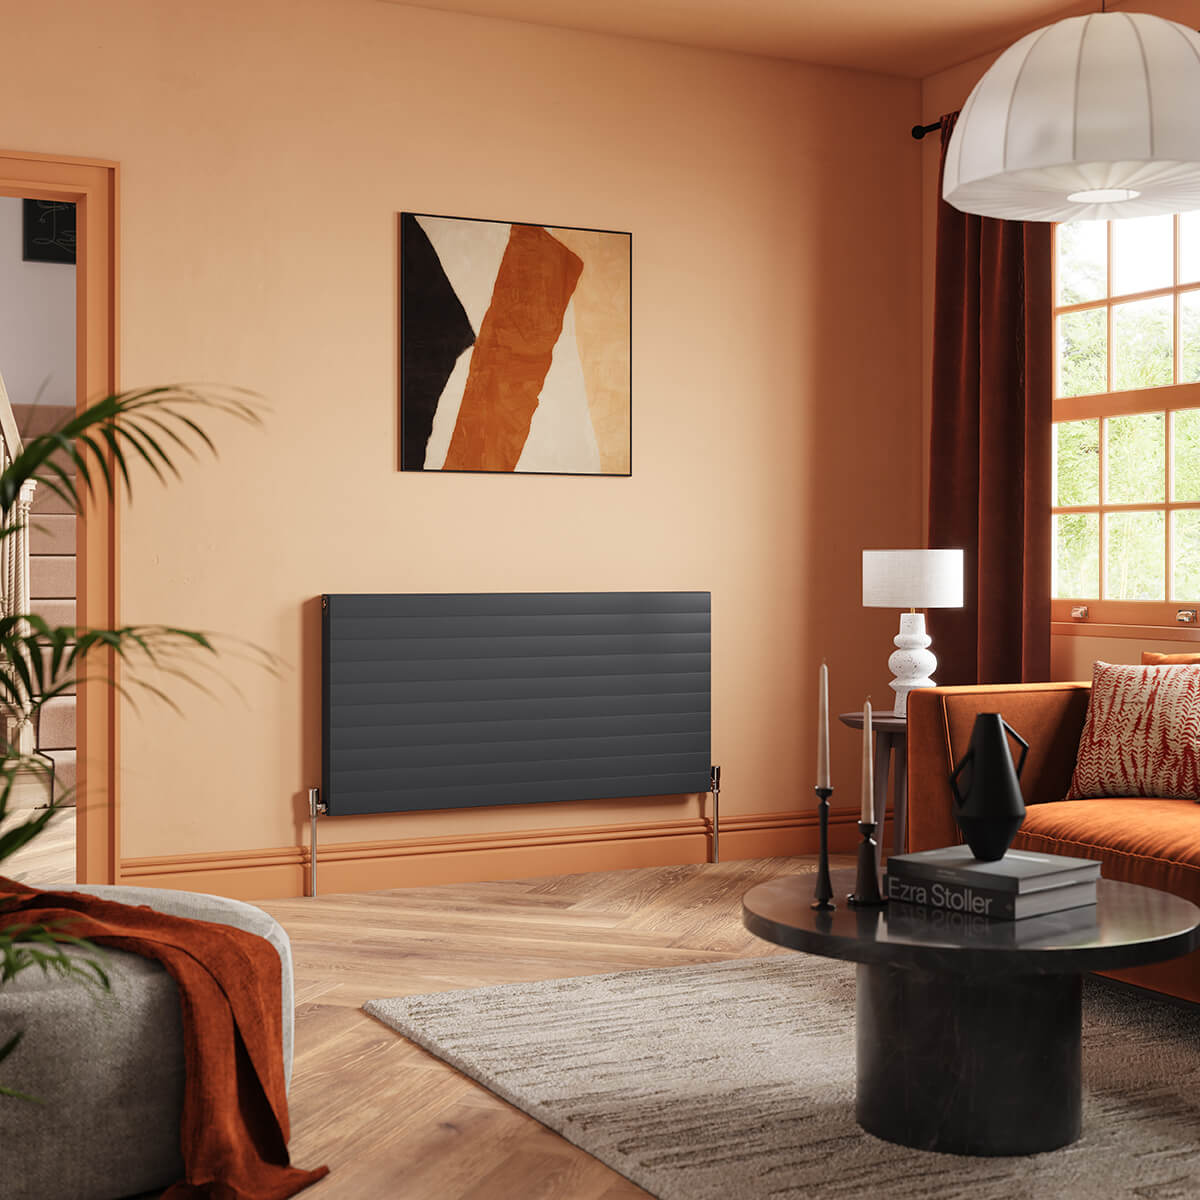
If you’re renovating a room, you might be considering how to move a radiator that you want to upgrade. Or perhaps you’re thinking of making the most of the space and want to move a radiator closer to your seating area. Whatever the reason for moving a radiator, you may not know where to start. Fortunately, all of the radiators in our range are simple to install once you have moved the old ones. To help, here are some top tips on how to move a radiator so you can do so successfully and with ease.
- Check The Area
Firstly, you’ll need to make sure that the radiator you want to move can safely be fitted elsewhere in the room. By checking the route of the radiator pipes, you’ll be able to see if you need a plumber to come and move the pipework before the radiator is fitted. To check your pipework, you’ll need to lift the carpet and floorboards so you can easily see them. If your pipework isn’t close to the walls, then it’s not possible to move the radiator yourself and you’ll need to enlist the help of a professional.
- Measure The Area
Before you commit to moving your radiator, you’ll want to check that the radiator will fit in the area you’re moving it to. Make sure you measure the area and the radiator to ensure that the move will be successful. You don’t want to start the process of moving a radiator only to find out that it doesn’t fit the space and you have to move it back to its original spot. Measuring the radiator and the space accurately will save you time overall. You can use our handy radiator size calculator to make this simple.
- Turn Everything Off
Once you know that you can safely move the radiator, you need to turn off the boiler and make sure that everything has cooled down. You’ll also need to turn off the valve of the radiator to ensure that it’s definitely not connected. You want to turn off the electricity as well because when you start to drain the radiator, the boiler could turn back on and overheat causing it to break.
- Drain The Radiator
You don’t need to drain every radiator in your house in order to move one of them. Instead, you can just drain the one you need to move, which will save you a lot of time. Make sure you have plenty of towels nearby as well so that you can soak up the water that will inevitably come out. The first step to draining your radiator is to loosen the nut that connects the radiator to the valve. Then you’ll need your radiator key to fully open the bleed valve and drain the rest of the water on this side. Next, you’ll need to move to the other valve and repeat this process to drain the rest of the water. Now that the radiator is completely free of water, you can loosen the brackets and lift the radiator from the wall.
- Capping Valves
You may need to cap the old valves once the radiator is moved if you’re no longer going to use them. This normally needs to be done by a professional plumber as it is illegal to cap them yourself if you are not a certified plumber. This might be something to consider and check before you start moving your radiator just to ensure you can get the move done as quickly as you can. You don’t want to get halfway through the job and realise that you need to cap your valves and halt your radiator move until you can hire a plumber. If you are moving the radiator to replace it with a new one, you won’t need to cap them.
- Moving The Radiator
Once you’ve completed all the above steps, you’ll be able to start actually moving the radiator. Make sure that you take the brackets from the previous area and then you’ll be able to re-use them where you’re fitting the new one. Lift the radiator and carefully fit it into the brackets. Then you’ll need to make sure the valves are closed safely. Although you can do parts of the move on your own, you will need a plumber to help you connect the radiator to your pipes. Once the radiator has been properly refitted, you can then start to fill it up again.
As soon as your radiator is filled, it’ll be ready to use and heat your house in its new position. Moving a radiator doesn’t have to be complicated. With careful planning and the help of a few professionals, you can successfully move your radiator and have it in the perfect spot in no time at all. This way you can keep your house toasty and warm without major disruption to your daily life.
For any further advice on how to move a radiator or any queries about fitting standard radiators or designer radiators, please get in touch.
 Next Working Day Delivery£18 For Next Working Day Delivery On All Products*When ordered before 2pm.*T&Cs apply
 HOME SERIESConcord Rail Coloured