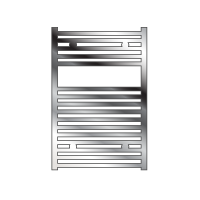
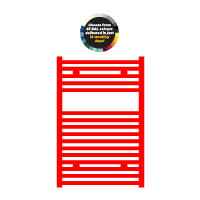
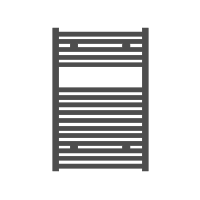
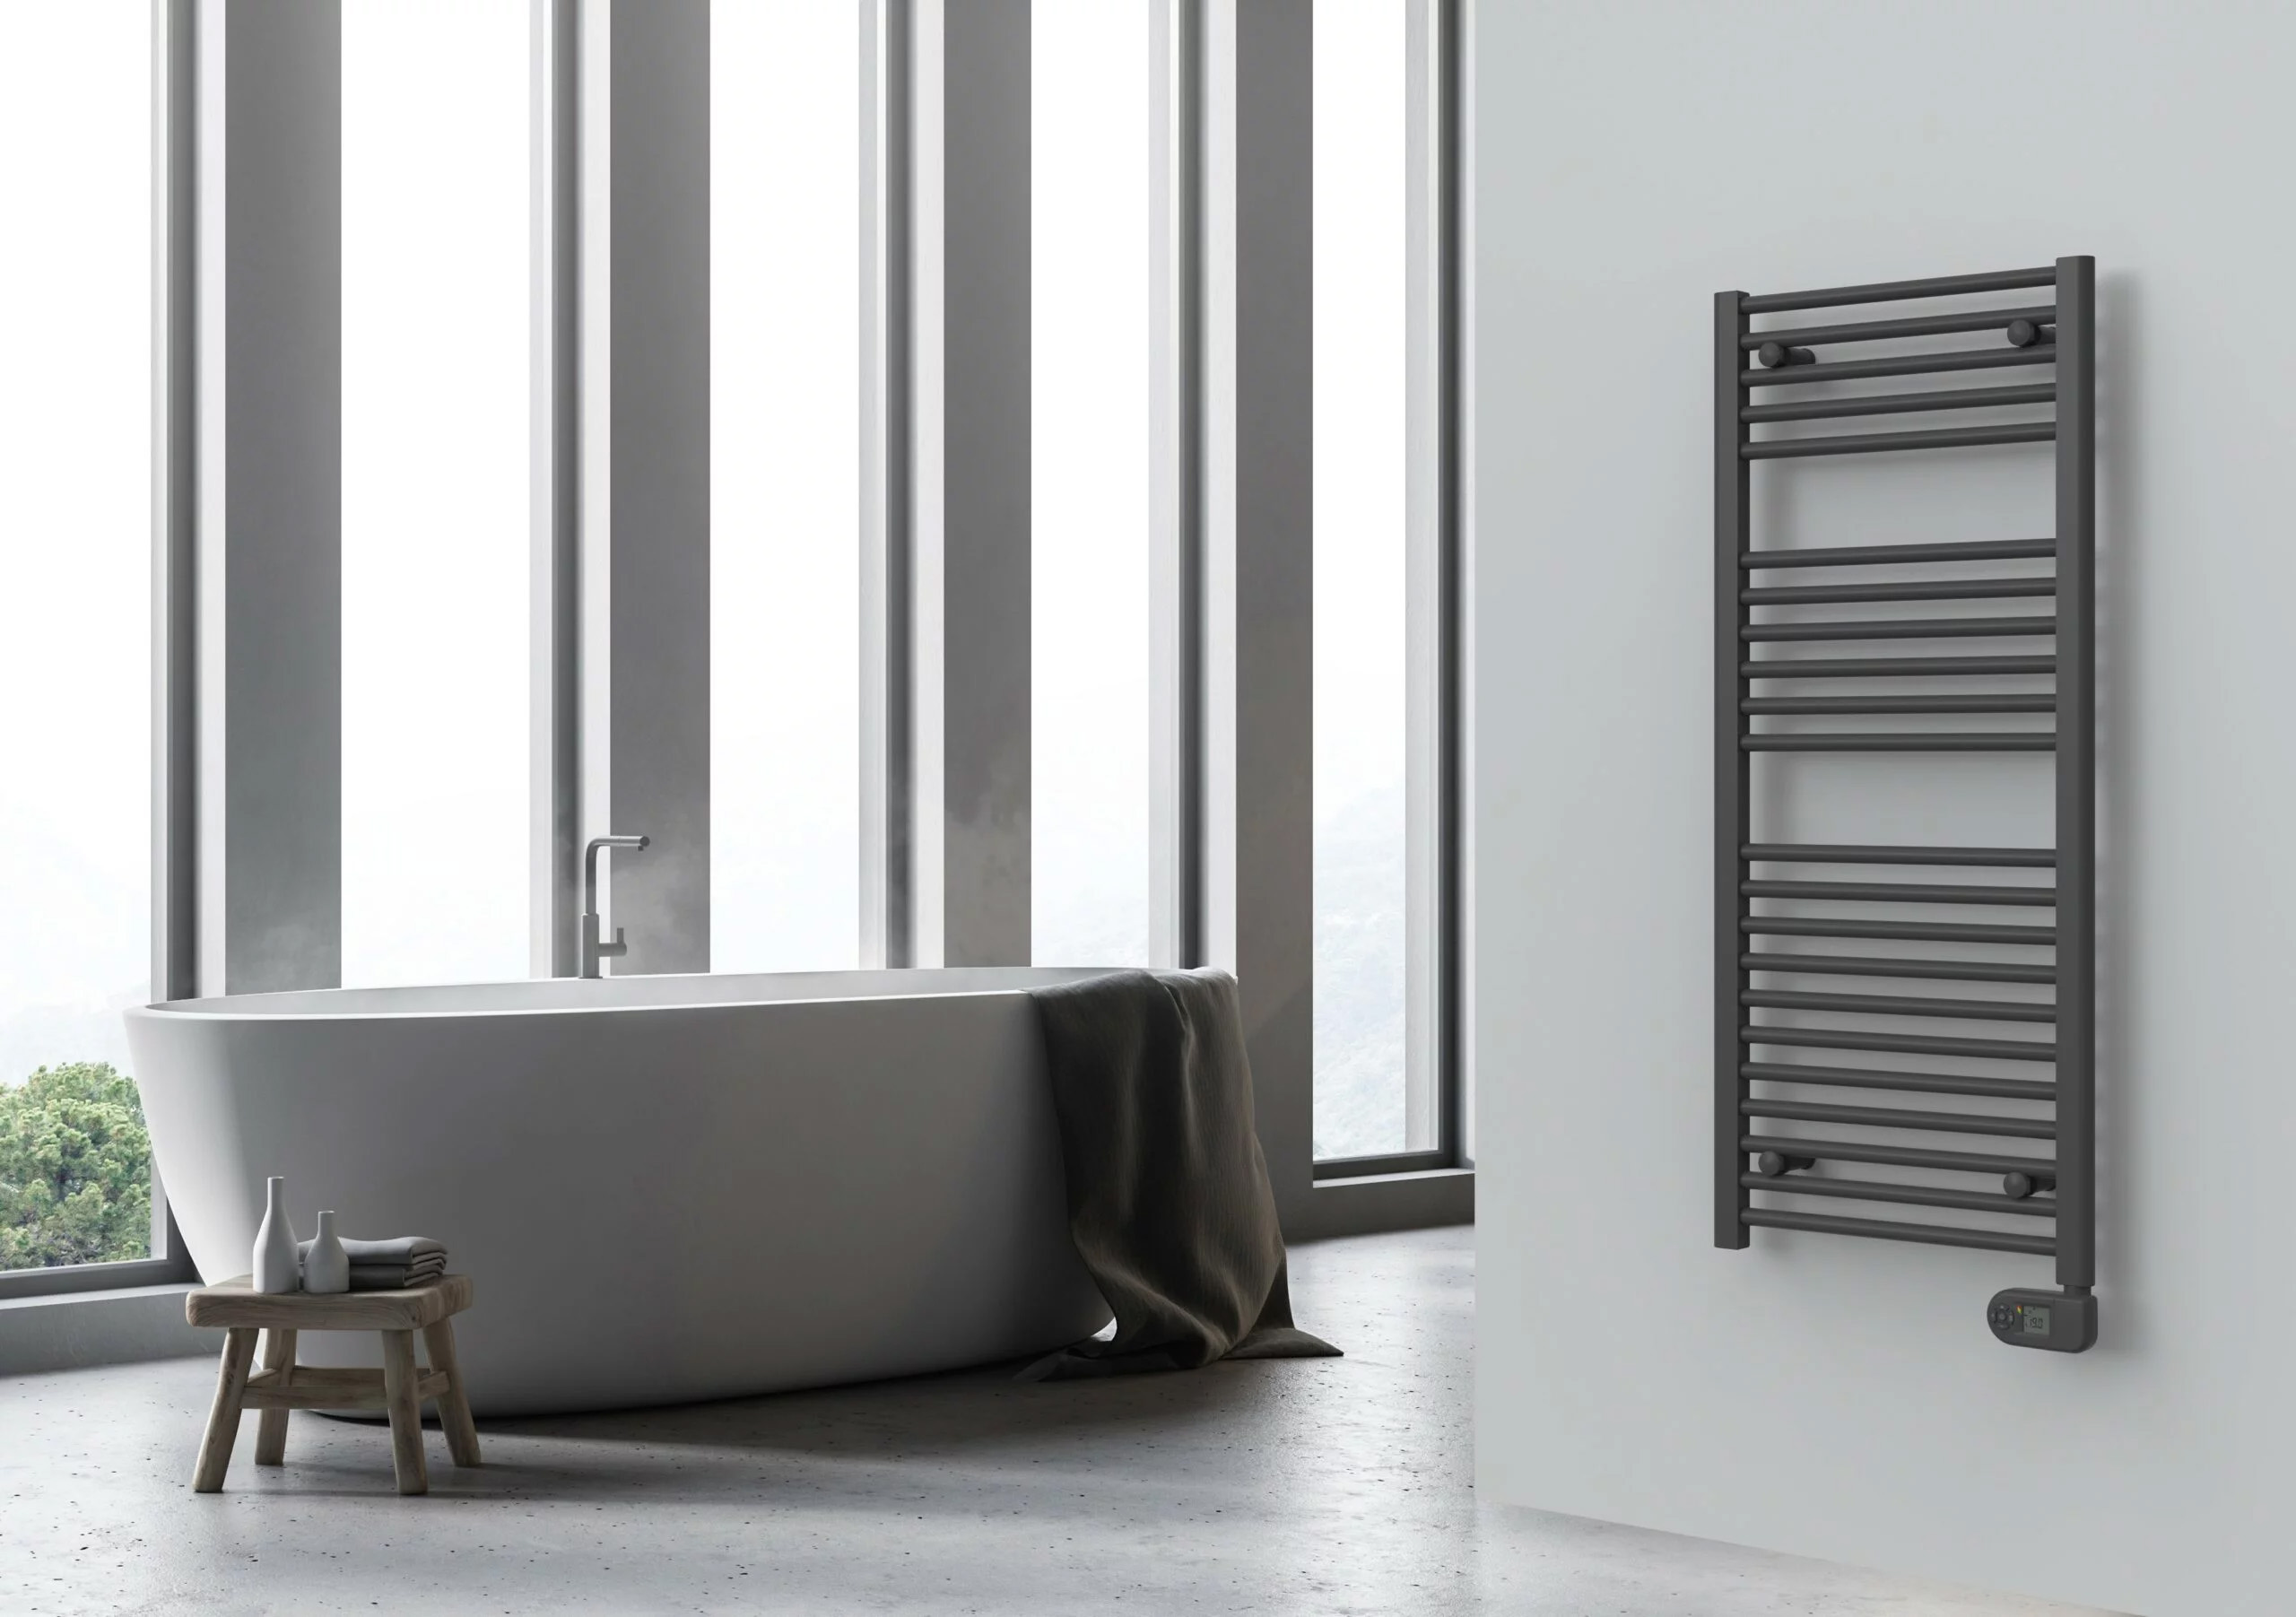
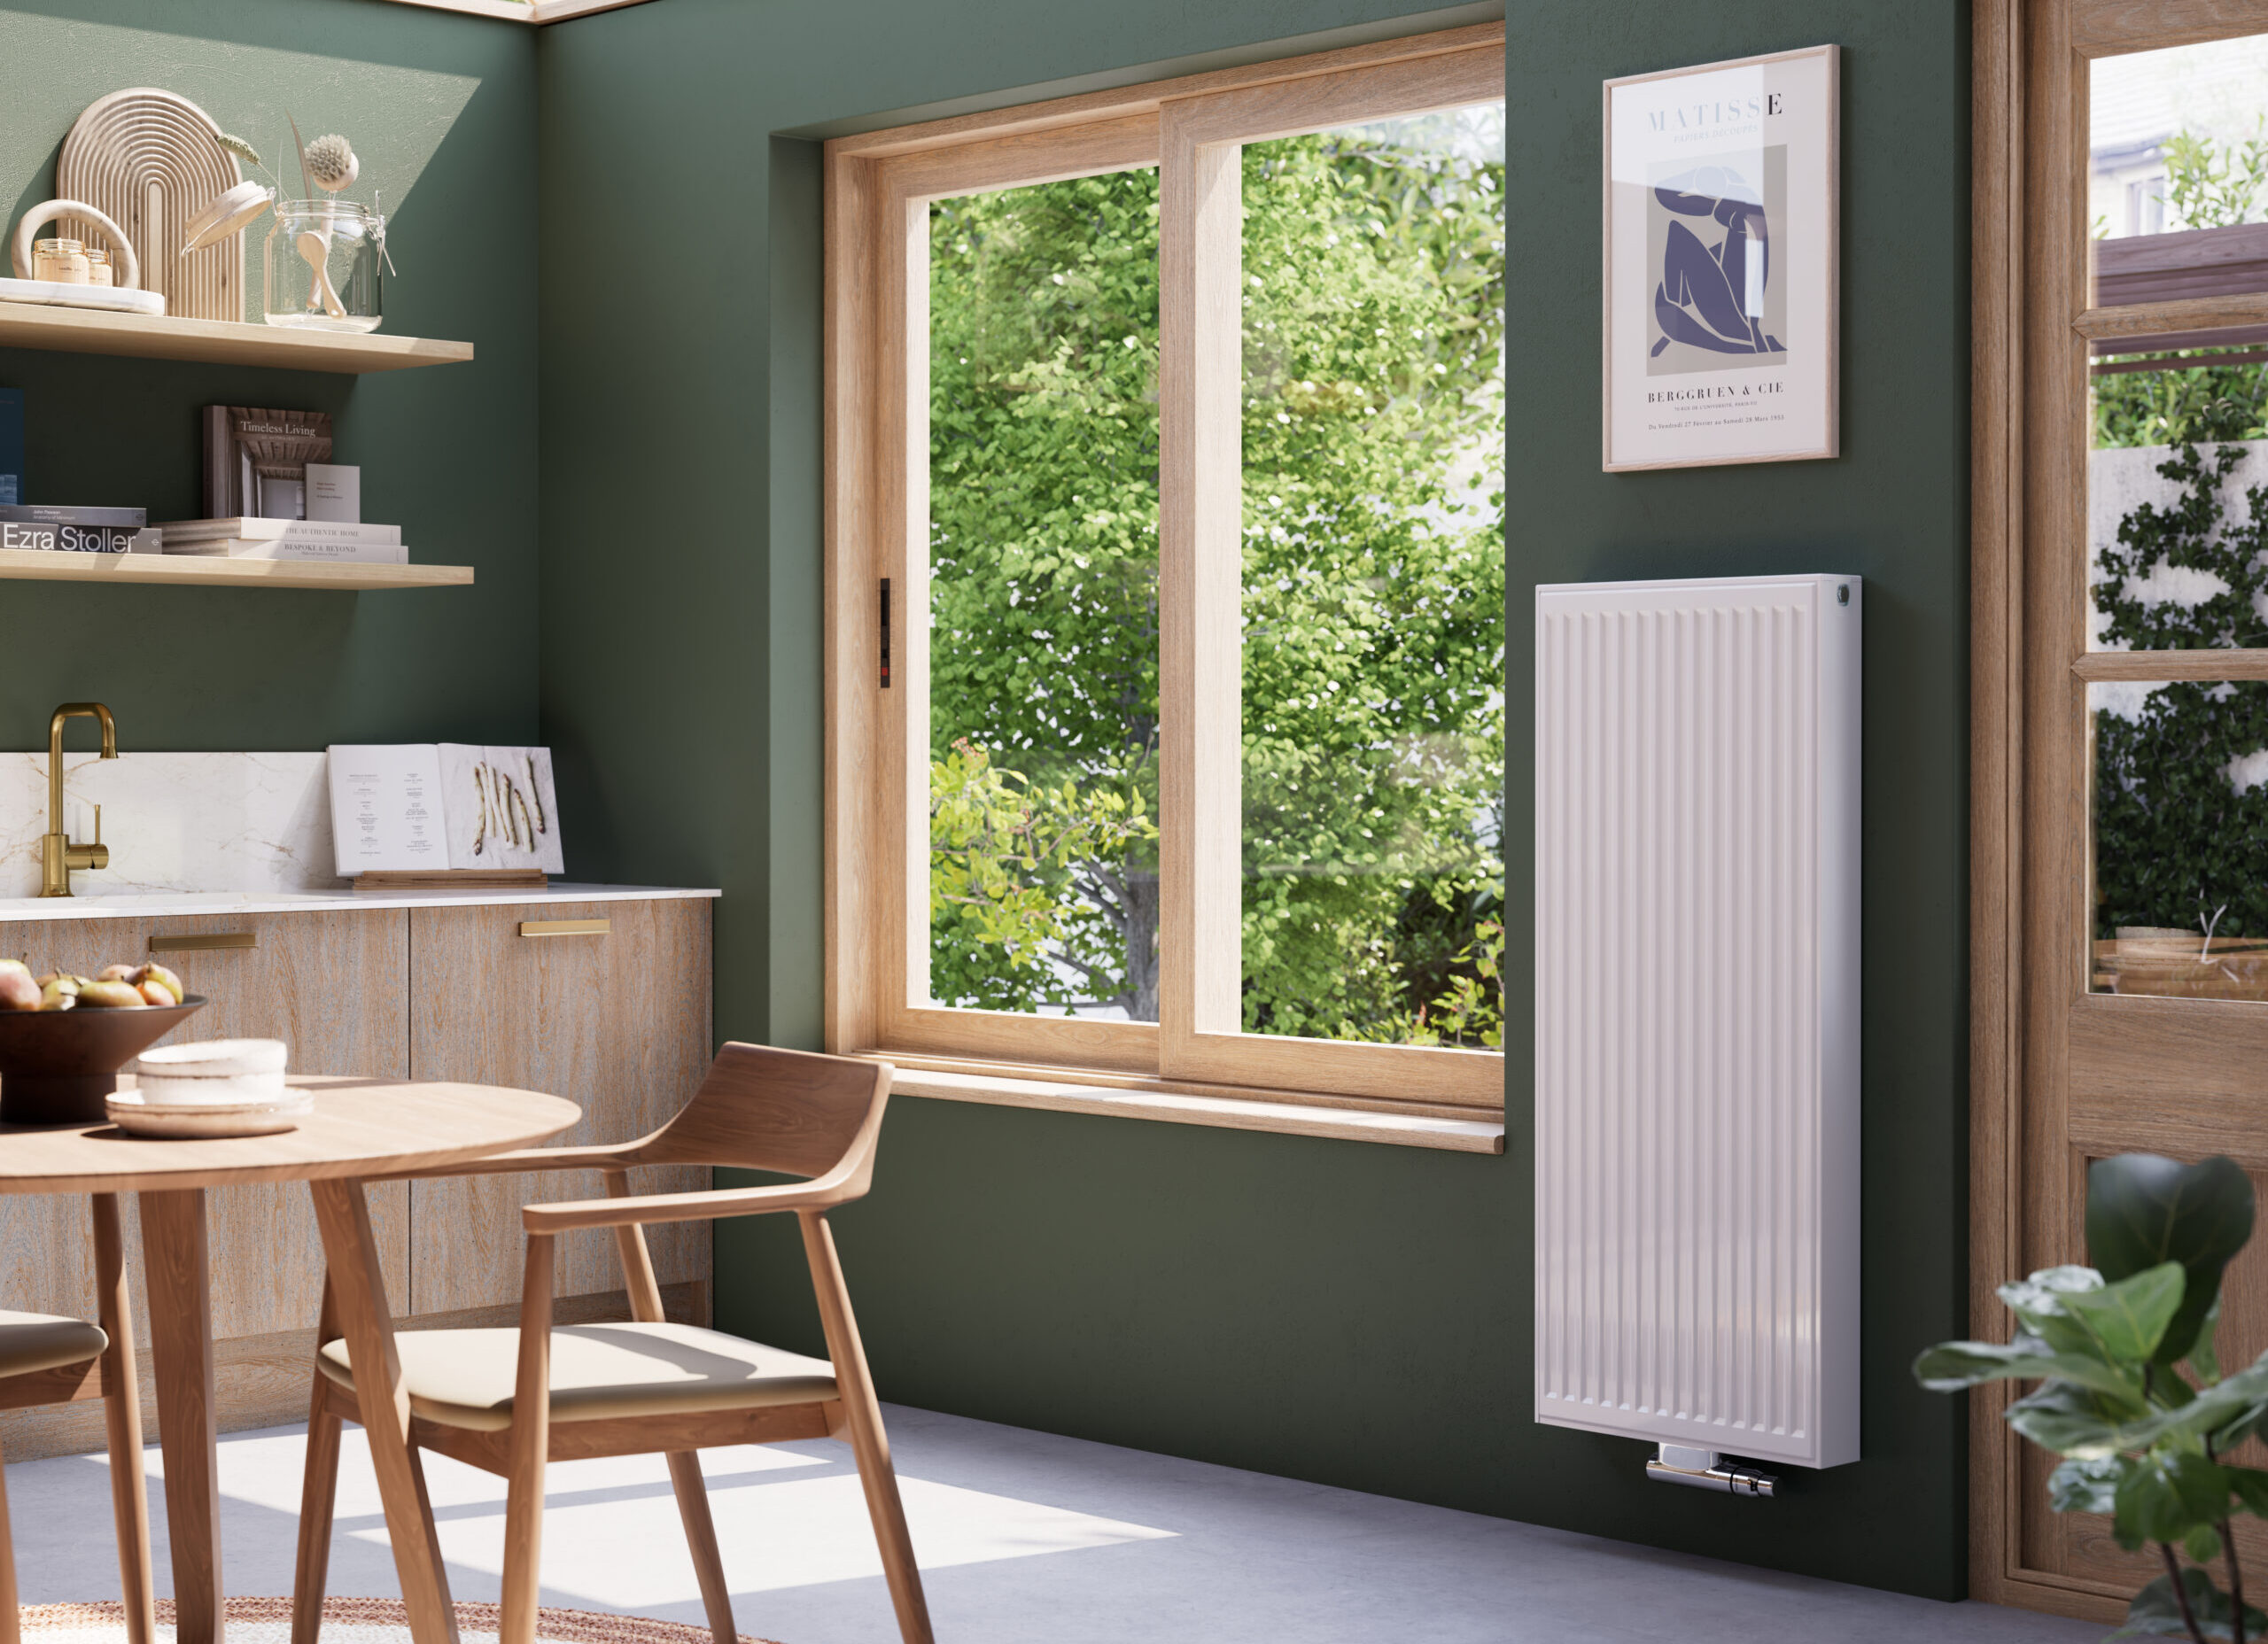
There are so many radiator choices out there from ultra-modern vertical radiators so designer radiators and traditional column radiators that can update your space effectively whilst providing efficient heating. But when it comes to fitting a new radiator, you don’t need the added expense of calling a professional to do it for you! Instead, you can install new radiators by yourself as a fun DIY job for those who like to get things done on their own. Here, we’ve compiled a step by step guide on how to fit a radiator with all the tools you need to get this done on your own.
Why Would I Need to Fit a New Radiator?
There are a few different reasons why you would need to fit a new radiator from your radiator not working as effectively to just wanting to upgrade your home with brand new, super-sleek design features. For example, if you notice there is an uneven distribution or a total absence of heat, it is likely that your radiator needs replacing. Other reasons that you may need to replace your radiator includes:
- Rust, corrosion, and blockages for the radiator that can no longer be fixed
- Your radiator is no longer efficient compared to those that are now on the market
- The radiator doesn’t comply with quality and safety regulations
- You’ve just bought a new home and want to replace all the fixtures
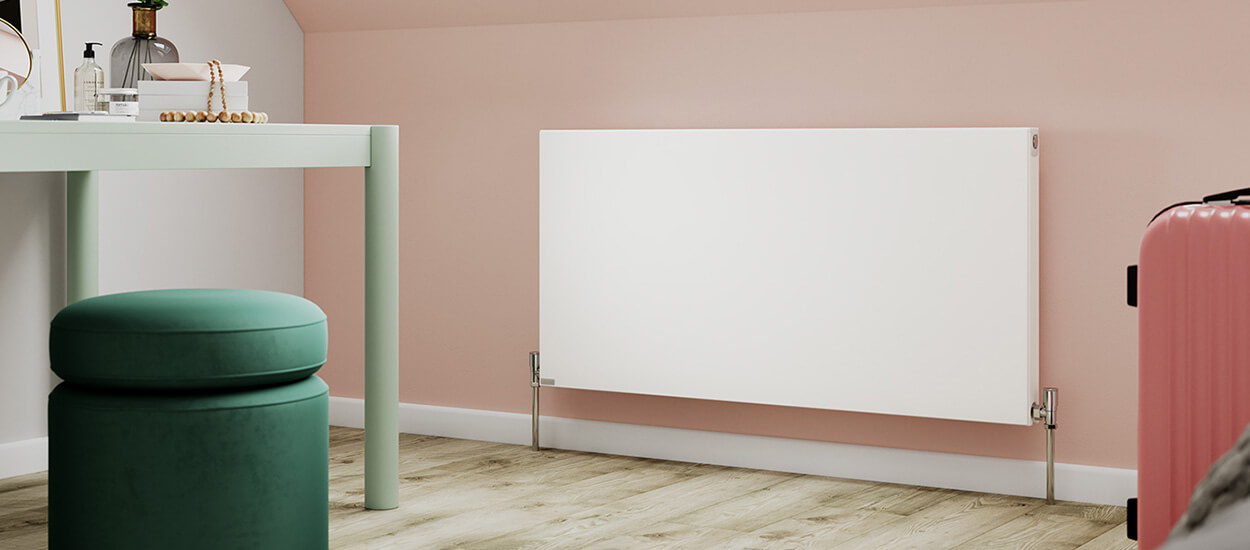
- Your current home needs an update and radiators are a great way to do that
- You want to improve the efficiency of heat and water in your home
No matter the reason for fitting a new radiator, we’ve compiled each and every step that you would need to fit it yourself along with a list of tools you will need.
Steps on How to Fit a Radiator
Before you get started on fitting a new radiator, you should check the walls that the radiators sit against for any cracks in the plaster. If there are, you may need to make repairs to this before fitting a new radiator. If your wall is fine, then you can read how to fit a radiator below.
When fitting a new radiator, you may need the following tools:
- Pipe cutter
- Radiator key
- Spanner
- Tape measure
- Dust sheet
- Screwdriver
- PTFE tape
- Hammer drill
- Blowtorch
- Wire wool
Step 1: Dress the Radiator
Before installing your new radiator, you will have to dress it. This means getting your radiator ready for fitting onto the wall. To do this, take each radiator valve and apply PTFE tape to the tail of the valve and wrap it clockwise around seventeen times and remove the radiator bung.
Then, attach the air vents being careful not to over-tighten as this can damage the O-ring. You can then connect the radiator tail with your adjustable spanner until there is just one thread showing. Your radiator is now dressed and ready to be installed.
Step 2: Measuring
Next, you need to measure the width of the wall using your measuring tape and mark where the centre of the radiator will be at the centre of the wall. Then, find the centre of the brackets after you’ve measured your centre point by measuring the centre between the left and right brackets. You may find it easier to do this with the radiator lying flat on its back.
Once you’ve measured the centre, you will need to figure out the height of your radiator by measuring from the top bracket to the top of the bottom bracket, again with the radiator lying flat on its back for ease.
Then, measure to the centre of the bottom bracket by measuring from the floor to the centre of the valve outlet. Once you have the centre point marked on the wall, measure the distance between the centre points of the left and right brackets and mark the bracket positions on the wall.
Step 3: Prepare the Wall
With a 7mm masonry bit, drill and plug the wall with your hammer drill and be sure to hammer the plugs into the wall before moving on. Once you have the brackets screwed in, check they are level. If they are, you are ready to fit your new radiator.
Step 4: Changing the Pipework
Pull back your carpet beneath the radiator you’re working with and carefully lift the floorboards to uncover the pipework. When you can see your pipes, mark your floor in the correct area and attach the valve to the radiator before you take measurements. Cut the floor and then attach the valve to the radiator and bend the pipes in line. However, please note that if your pipe is larger than 10mm, you will have to use joining elbows.
Clean your pipes with wire wool and measure the gap between the pipes before measuring and cutting the joining piece and cleaning that with wire wool. Apply a small amount of flux to all the joining points and inside the fittings and connect the pipes together ensuring that they are fully inserted.
Step 5: Solder Pipework
Once the pipes are inserted, it’s time to solder the pipework. Using a blowtorch, heat the join until it is hot enough for the solder to melt. When applying solder, it’s important to ensure it runs around the whole fitting. Then, allow the solder to set and wipe away any residue and clean again with wire wool.
Step 6: Fit the Valves
Using your adjustable spanner, attach your valves to both sides of the radiator and once you’re happy that your radiator and the pipework are all correct, you can put on your heating and check that your radiator is warming up. Once you’re happy that everything is working correctly, you can put down your floorboards and carpets as they were. You may need to make a small slice in your carpet where your new pipework is and then you are finished!
 Next Working Day Delivery£18 For Next Working Day Delivery On All Products*When ordered before 2pm.*T&Cs apply