Whether you are planning on removing a radiator completely and need to isolate it beforehand, or if you need to turn off a radiator in a room you don’t really use, then this blog will take you through everything you need to know about how to isolate a radiator.
Why Do I Need to Isolate a Radiator?
Your home heating system is interconnected with all the radiators in your home connected to a circulation of water in the pipes. If by accident you remove one of the radiators in your system without isolating it first, you will end up with the entire water contents of your system being emptied onto the floor. Therefore, if you need to remove a radiator, you need to isolate a radiator first to prevent huge amounts of water from leaking out onto your floors.
Another reason why you might need to isolate a radiator is if you want to cut off the heat supply to a room. For example, this might be needed where you no longer use a room and wish to save on your energy bills. After all, there’s no point in heating an unused space. Lofts, garages, and basements would be good examples of spaces that may have radiators but aren’t used enough to justify heating them.
Moreover, when a radiator is needing to be replaced or repaired, you may need to isolate a radiator while you wait for it to be repaired. For example, if your radiator is leaking, you will need to isolate the radiator for it to be fixed. A leaking radiator can cause many issues such as damaging the floor below and creating a lot of moisture in the room it’s in.
How to Isolate a Radiator Without a Professional:
Here is a step-by-step guide on how to isolate a radiator without a professional:
Step 1: Depending on the type of radiator valve you have; the process will differ slightly.
If your radiator has a turn valve, you will need to turn the valve all the way clockwise until it stops. This will turn the radiator off.
Some more modern radiators have a thermostatic valve. If that’s the case with your radiator, you will simply need to turn the thermostatic valve all the way around until it reaches zero. Once your dial has turned to 0, the radiator will no longer produce any heat and will be turned off.
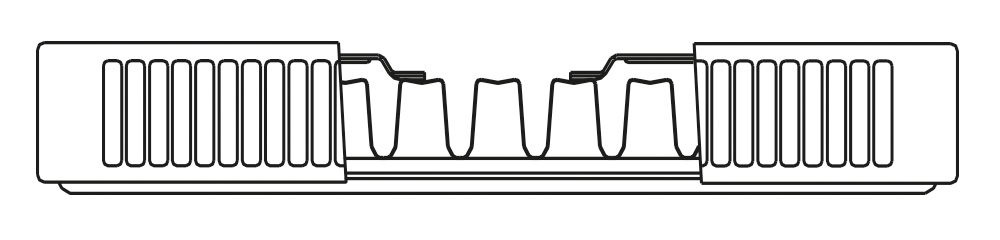
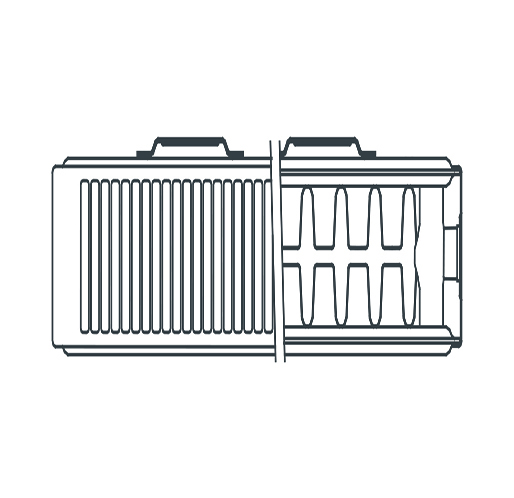
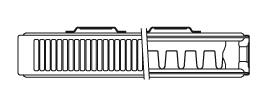
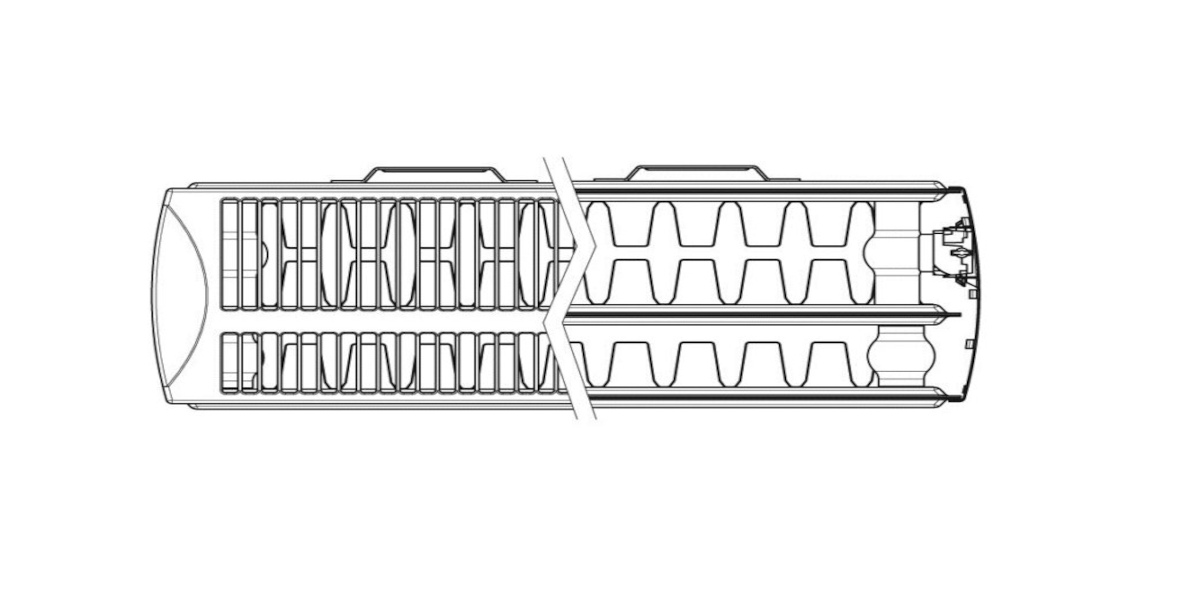
If your radiator has a lockshield valve, this is a little bit different. A lockshield valve can be identified as it won’t turn. Instead, the top should pull off.
- Then remove the top piece to reveal the head of the valve. Some top pieces will simply pull off. Others may need to be unscrewed first.
- Then use pliers to turn the head of the valve all the way clockwise until it won’t turn anymore.
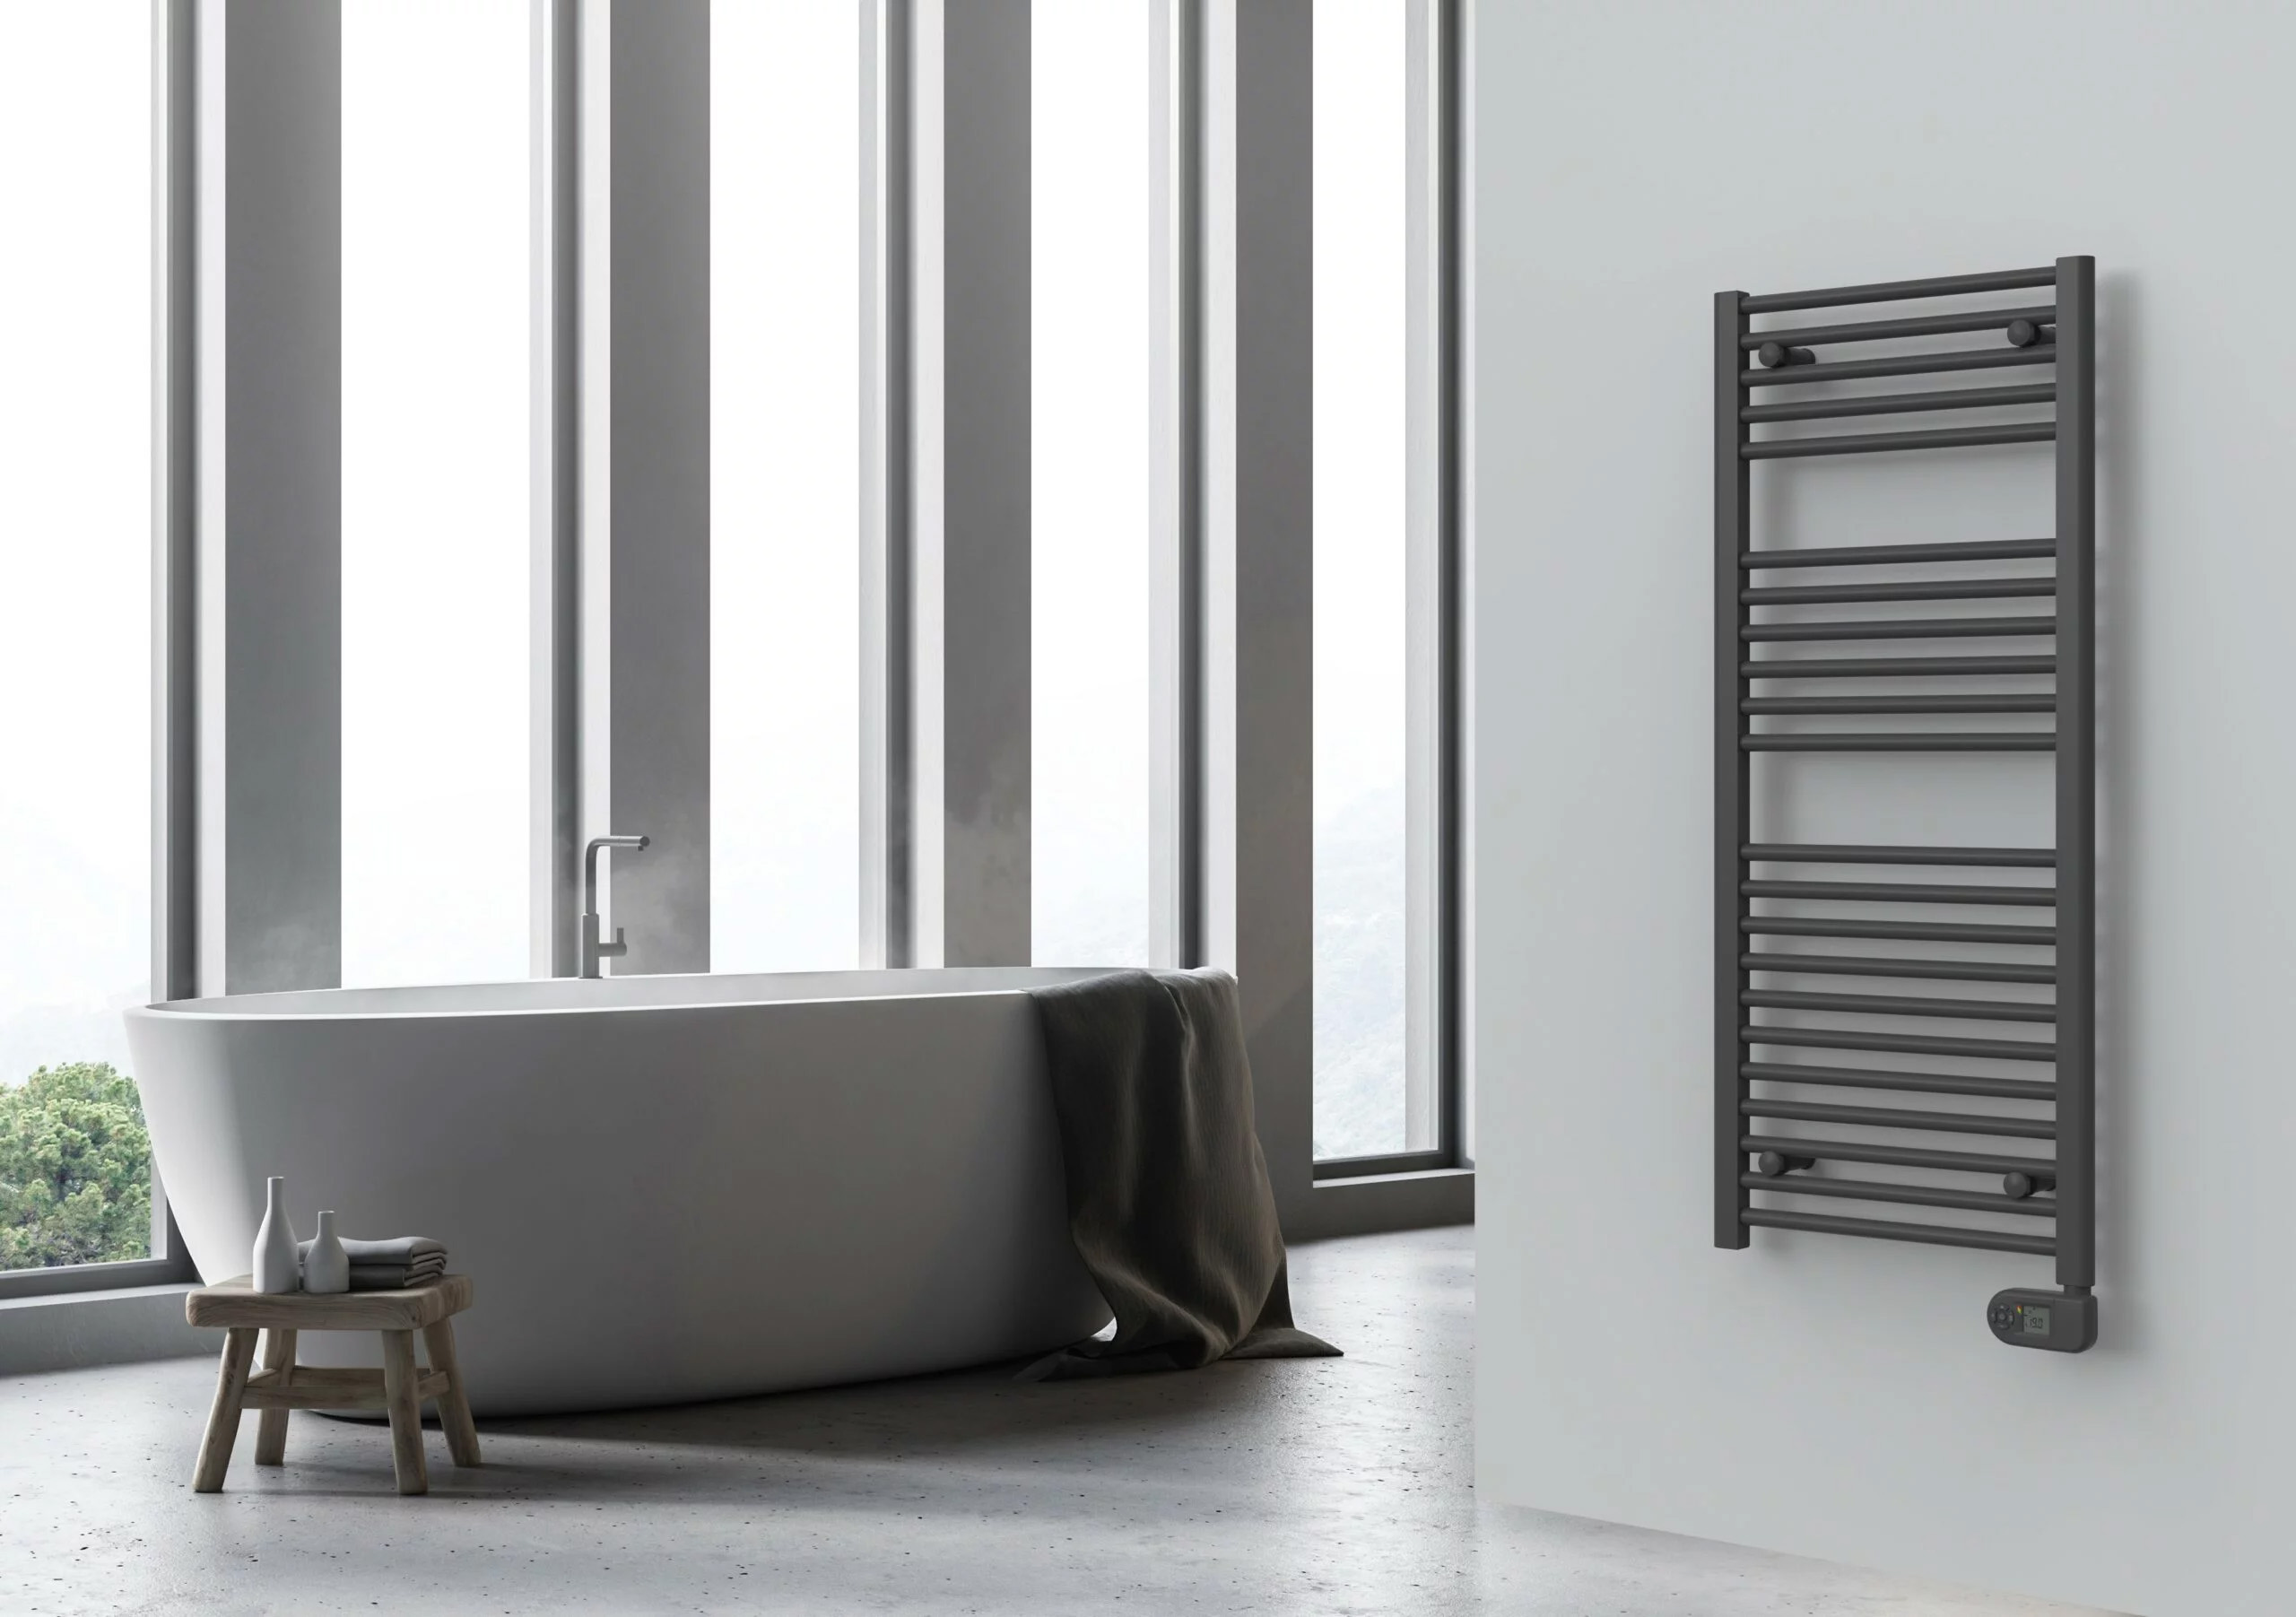
Please note, most modern designer radiators have a valve at both ends. You should make sure you turn the valves off on both ends to isolate the radiator completely.
Tools You Need to Isolate Radiators
When isolating a radiator by yourself, the two main tools you will need to complete the job properly are a screwdriver and pliers. In terms of your safety, there is no specific safety equipment you need to isolate a radiator. If you plan on bleeding your radiator or isolating and removing a radiator, you may want to wear overalls or old clothes as the radiator could spit out some unwanted gunk that could stain your clothes.
Preparing to Isolate Radiator
As mentioned above, the type of radiator valve will determine the approach you take to isolating a radiator. Therefore, to prepare to isolate radiators, you first need to check the type of valves that are attached, as this will guide your approach and the tools you’ll need for the job. For example, some valves will be able to be turned off by hand, whereas others will need the assistance of a screwdriver or pliers.
Make sure that you’ve turned your central heating off and let it cool down as you don’t want to be dealing with hot water when emptying and isolating the radiator. Next place the old sheets and towels under the radiator and especially beneath the valves and around the pipes coming through the floorboards. This is in case you can catch any water that may leak from the radiator if you are bleeding or removing it. However, this shouldn’t be a problem if you are just simply isolating the radiator.
How to Isolate a Radiator FAQs:
Do you need to isolate a radiator before removing it?
In short, yes you do. It’s important to isolate a radiator before removing it. If you don’t, the water contents from your heating system will overflow out of the pipes and flood your floors.
What is the best type of radiator?
In the UK, the most popular type of radiator is a central heating radiator. Given how easy they are to install and their ability to heat a room quickly and efficiently, they are one of the most popular radiator options for homeowners.
How do you bleed a radiator?
Please visit our advice page where you will find our step-by-step guide to bleeding a radiator.
How long does it take to isolate a radiator?
Isolating a radiator is a very quick job. For radiators that have a turn valve or thermostatic valves, it should only take a few minutes to complete. It is as simple as turning them clockwise until they reach zero and are off. For radiators with a lockshield valve, it shouldn’t take much longer but requires you to remove the top and use pliers to turn the head of the valve off.
Can you save money if you isolate a radiator?
Yes, you can save money if you isolate a radiator. One reason why you should isolate a radiator is if you no longer use a room or use it only occasionally throughout the year. Heating unused rooms will waste your money. Therefore, isolating a radiator and switching it off will save you money.
 Next Working Day Delivery£18 For Next Working Day Delivery On All Products*When ordered before 2pm.*T&Cs apply