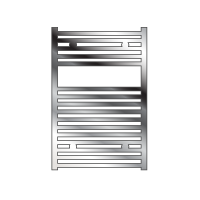
Radiator maintenance and replacements (when needed) are vital jobs to improve the health and longevity of your heating system. Making efforts to check the health of radiators to ensure they are working correctly and changing a radiator when needed will improve your home heating efficiency and save you money.
This article aims to cover the critical points on how to change a radiator, so you feel confident doing it yourself at home.
The Tools You Need for Changing a Radiator
There are a handful of tools you will need for successfully changing a radiator. These include:
- Wall fixing brackets
- Wall plugs
- Radiator to wall connector
- Screws, bolts, and washers
- 1 x end cap
- 1 x bleed cap
Depending on the designer radiators you’ve chosen, the type of wall brackets you need may vary. Therefore, it’s essential to check this detail before starting.
You’ll also need:
- 2 x adjustable spanners
- Drip tray or paint roller tray
- Radiator bleed key or a flat-head screwdriver
- Bucket
- Cup or small container when bleeding the radiator
- Pipe cable
- Multi-purpose digital detector
- Large allen key
- Hammer drill or drill driver
- A masonry drill bit suitable for use with the wall plug
- Steel wool
- Cloths
- TRV and Lockshield
Changing a Radiator – Considerations
Firstly, you must double-check that you have measured your radiators correctly and have the right size to install. You can read our step-by-step guide on how to measure a radiator to find out more. The key thing to remember, especially when it comes to replacing radiators over 15 years old, is that the replacement dimensions will need to be checked. If the pipe centres that feed the radiator cannot be moved, some extra thought is required to confirm the replacement.
It’s also important to assess the condition of the wall you plan to attach the radiator to. If there are any cracks or crumbling plaster, you will need to repair them before you fit your new radiator.
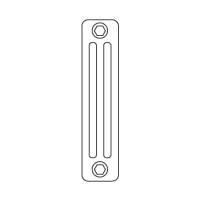
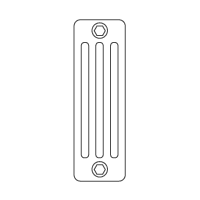
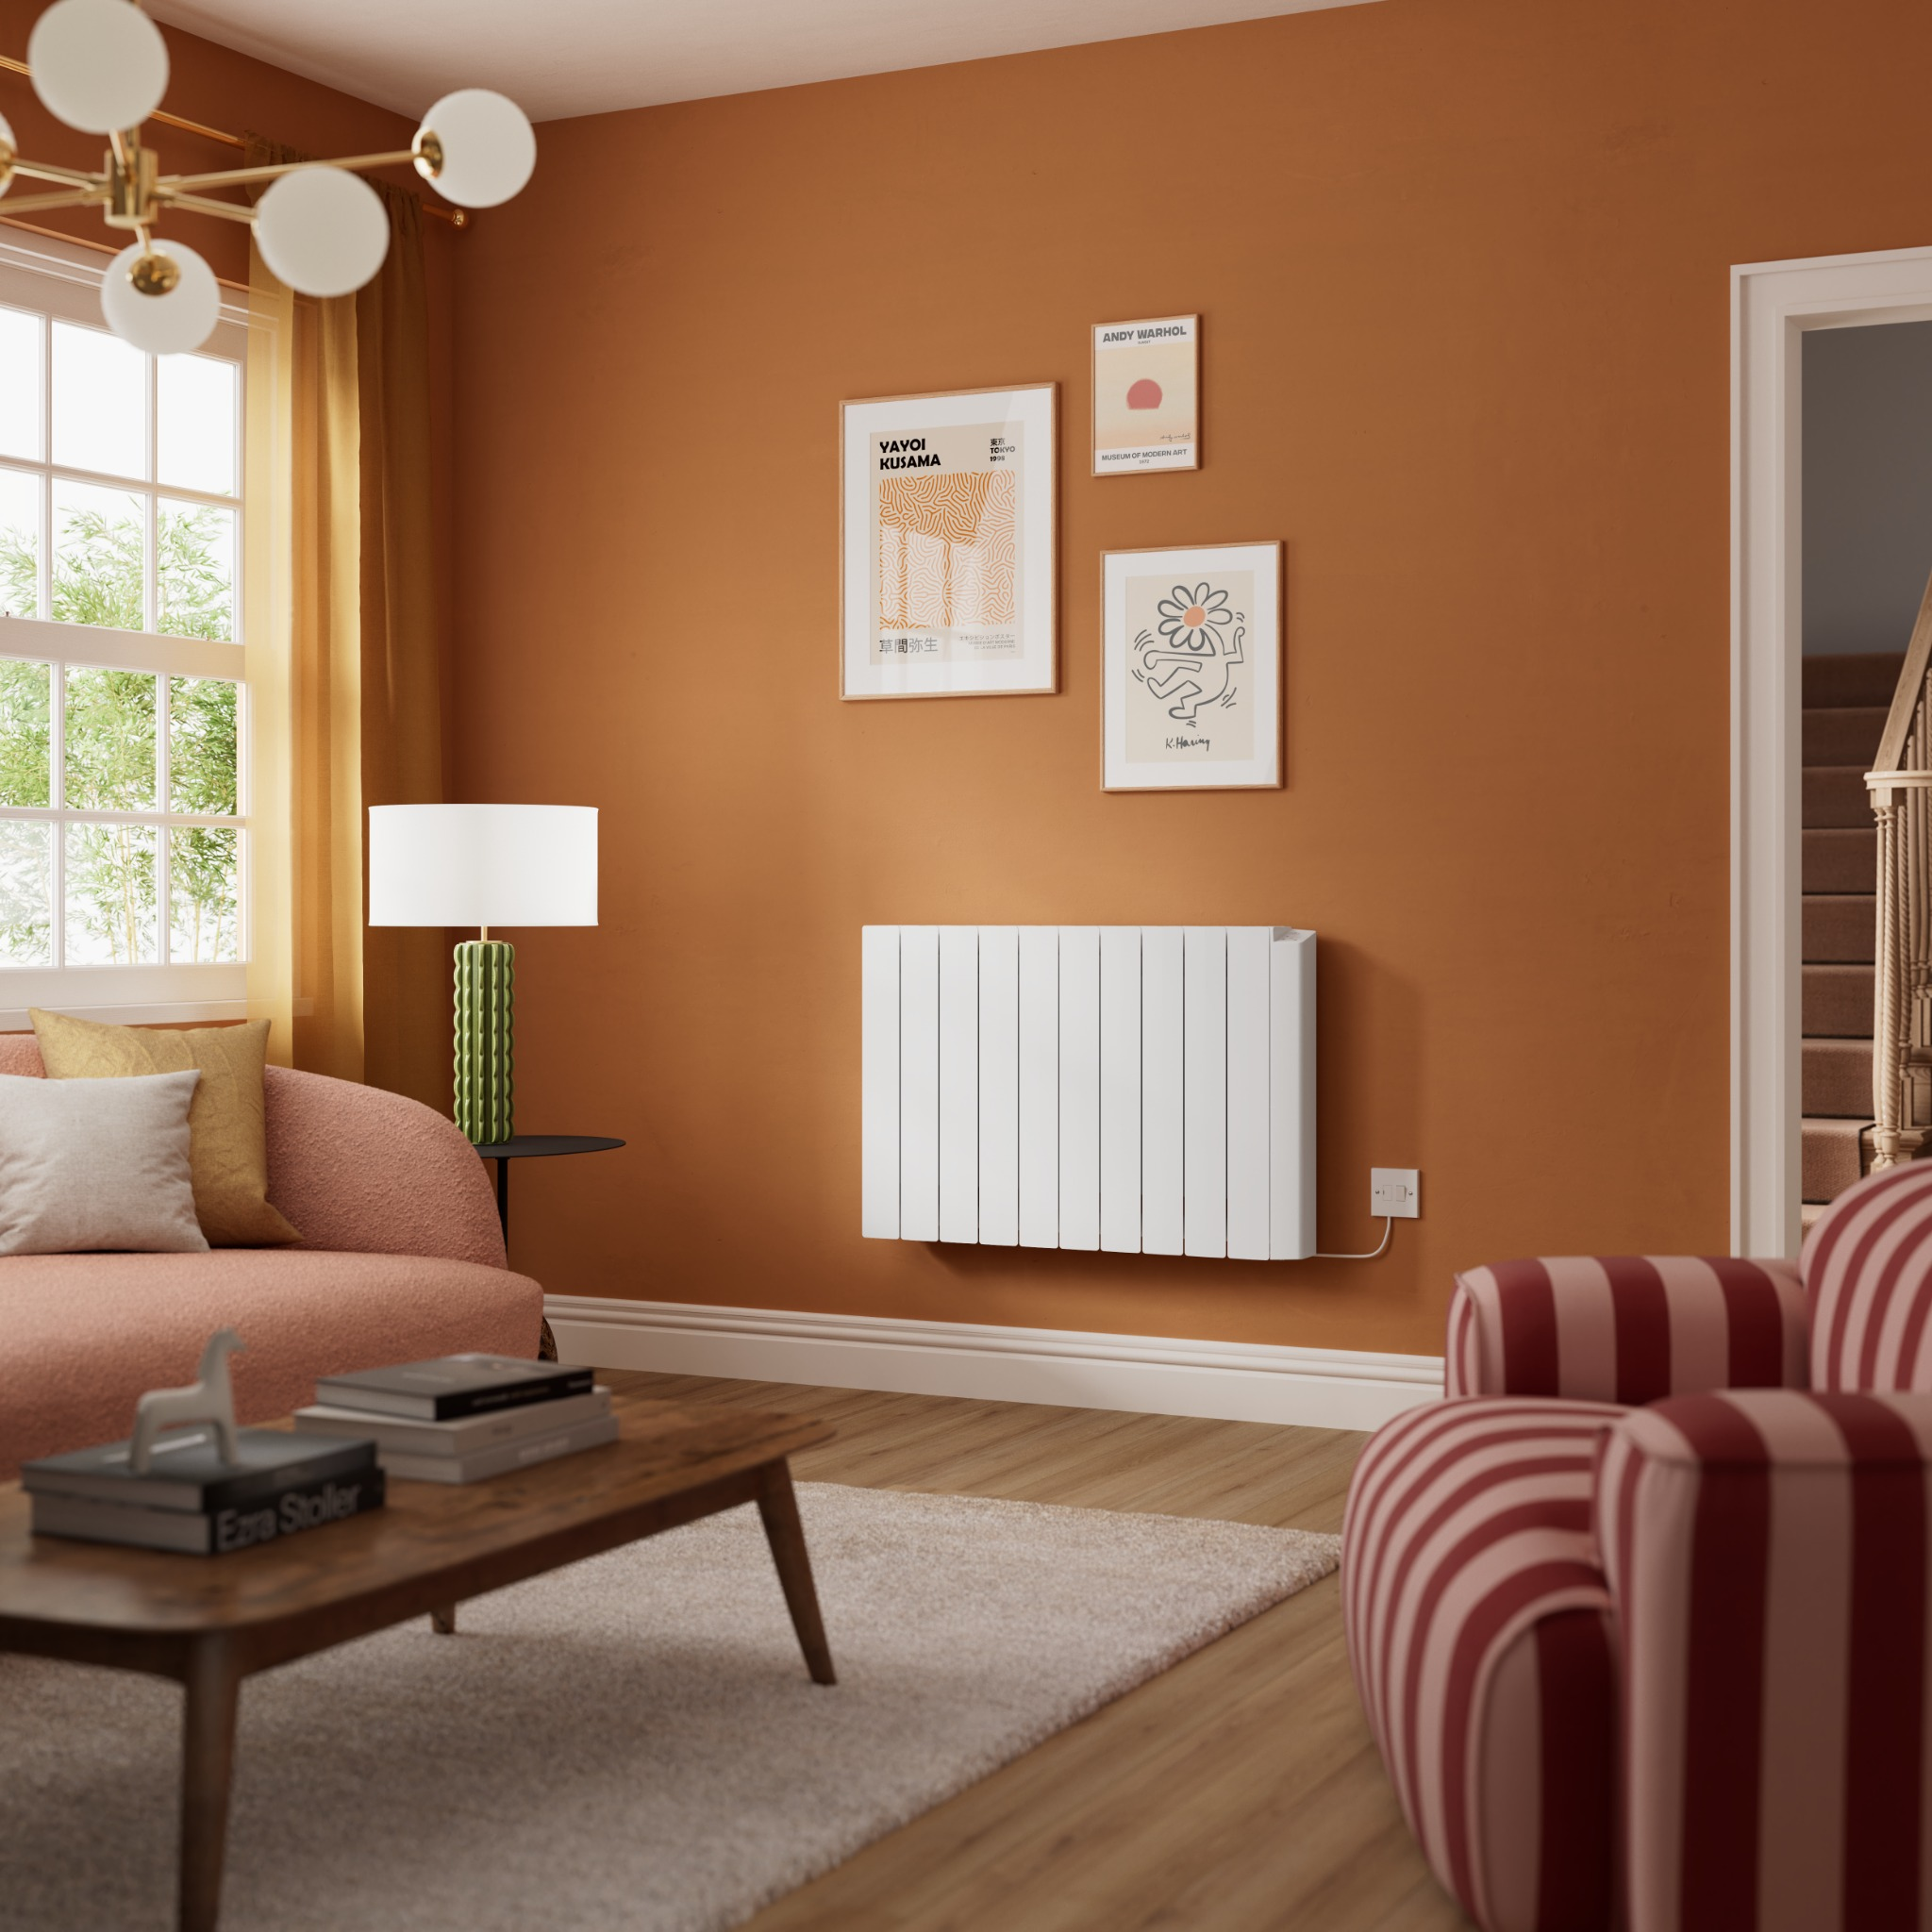
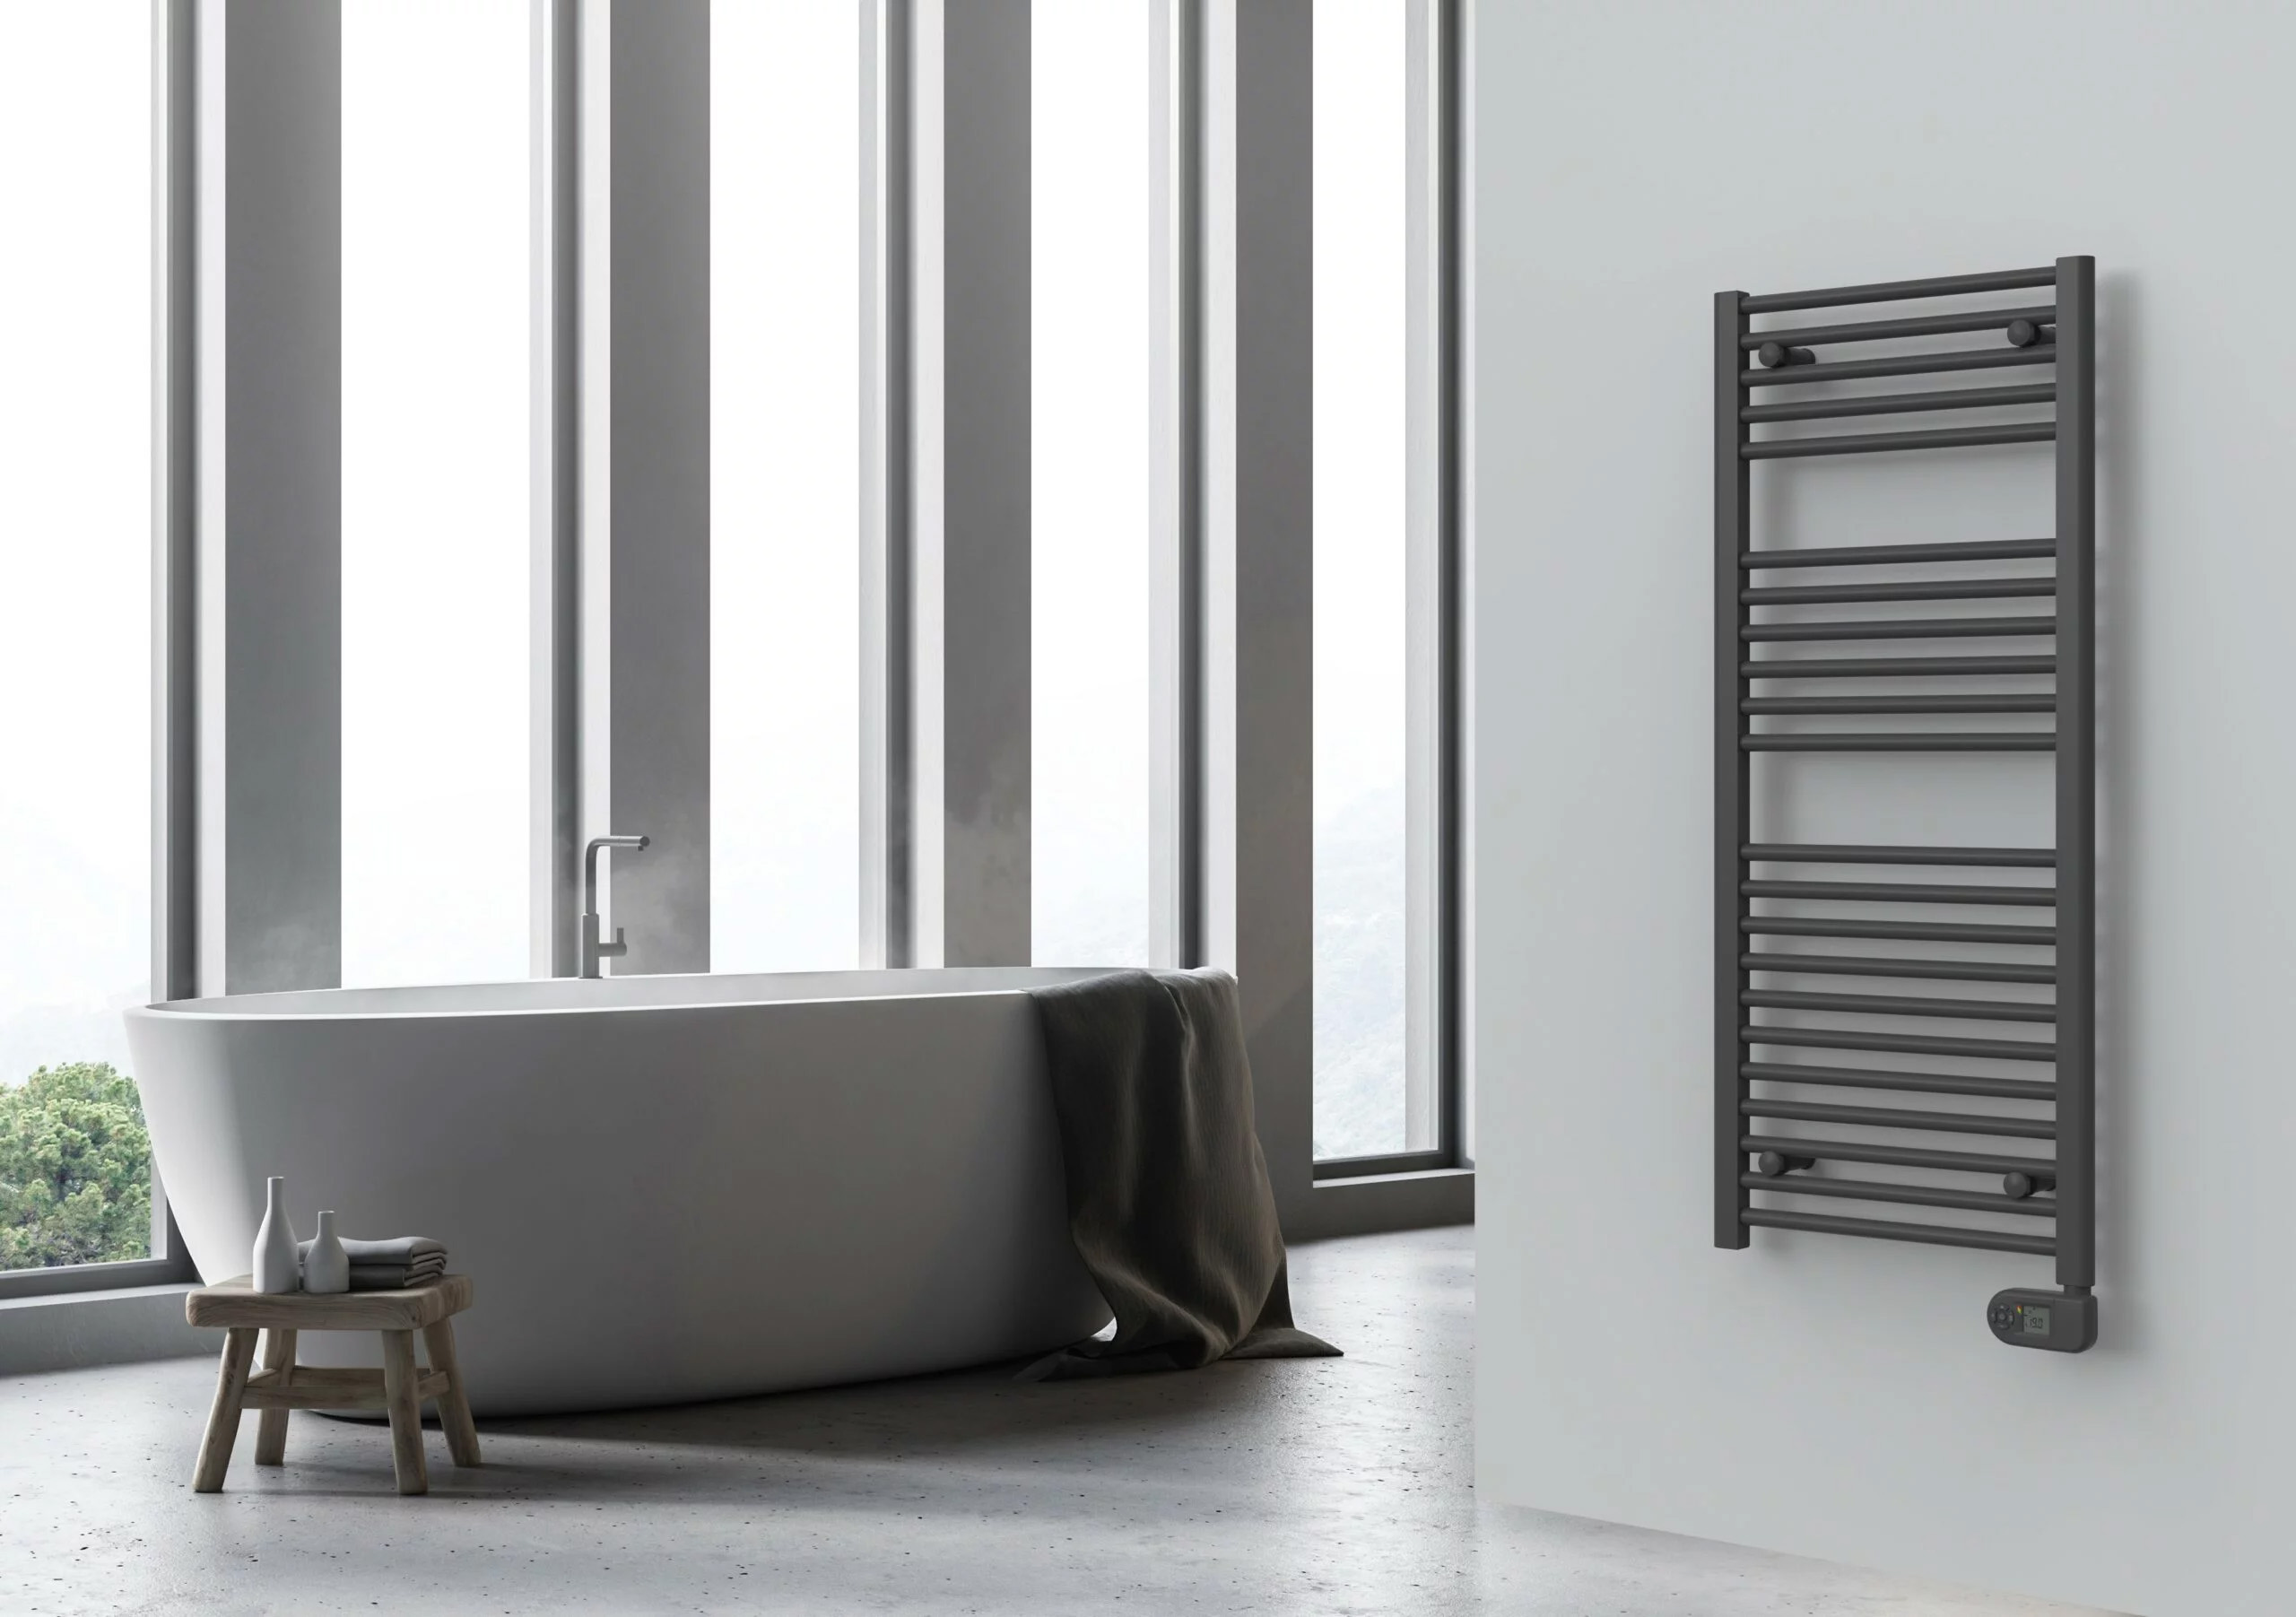
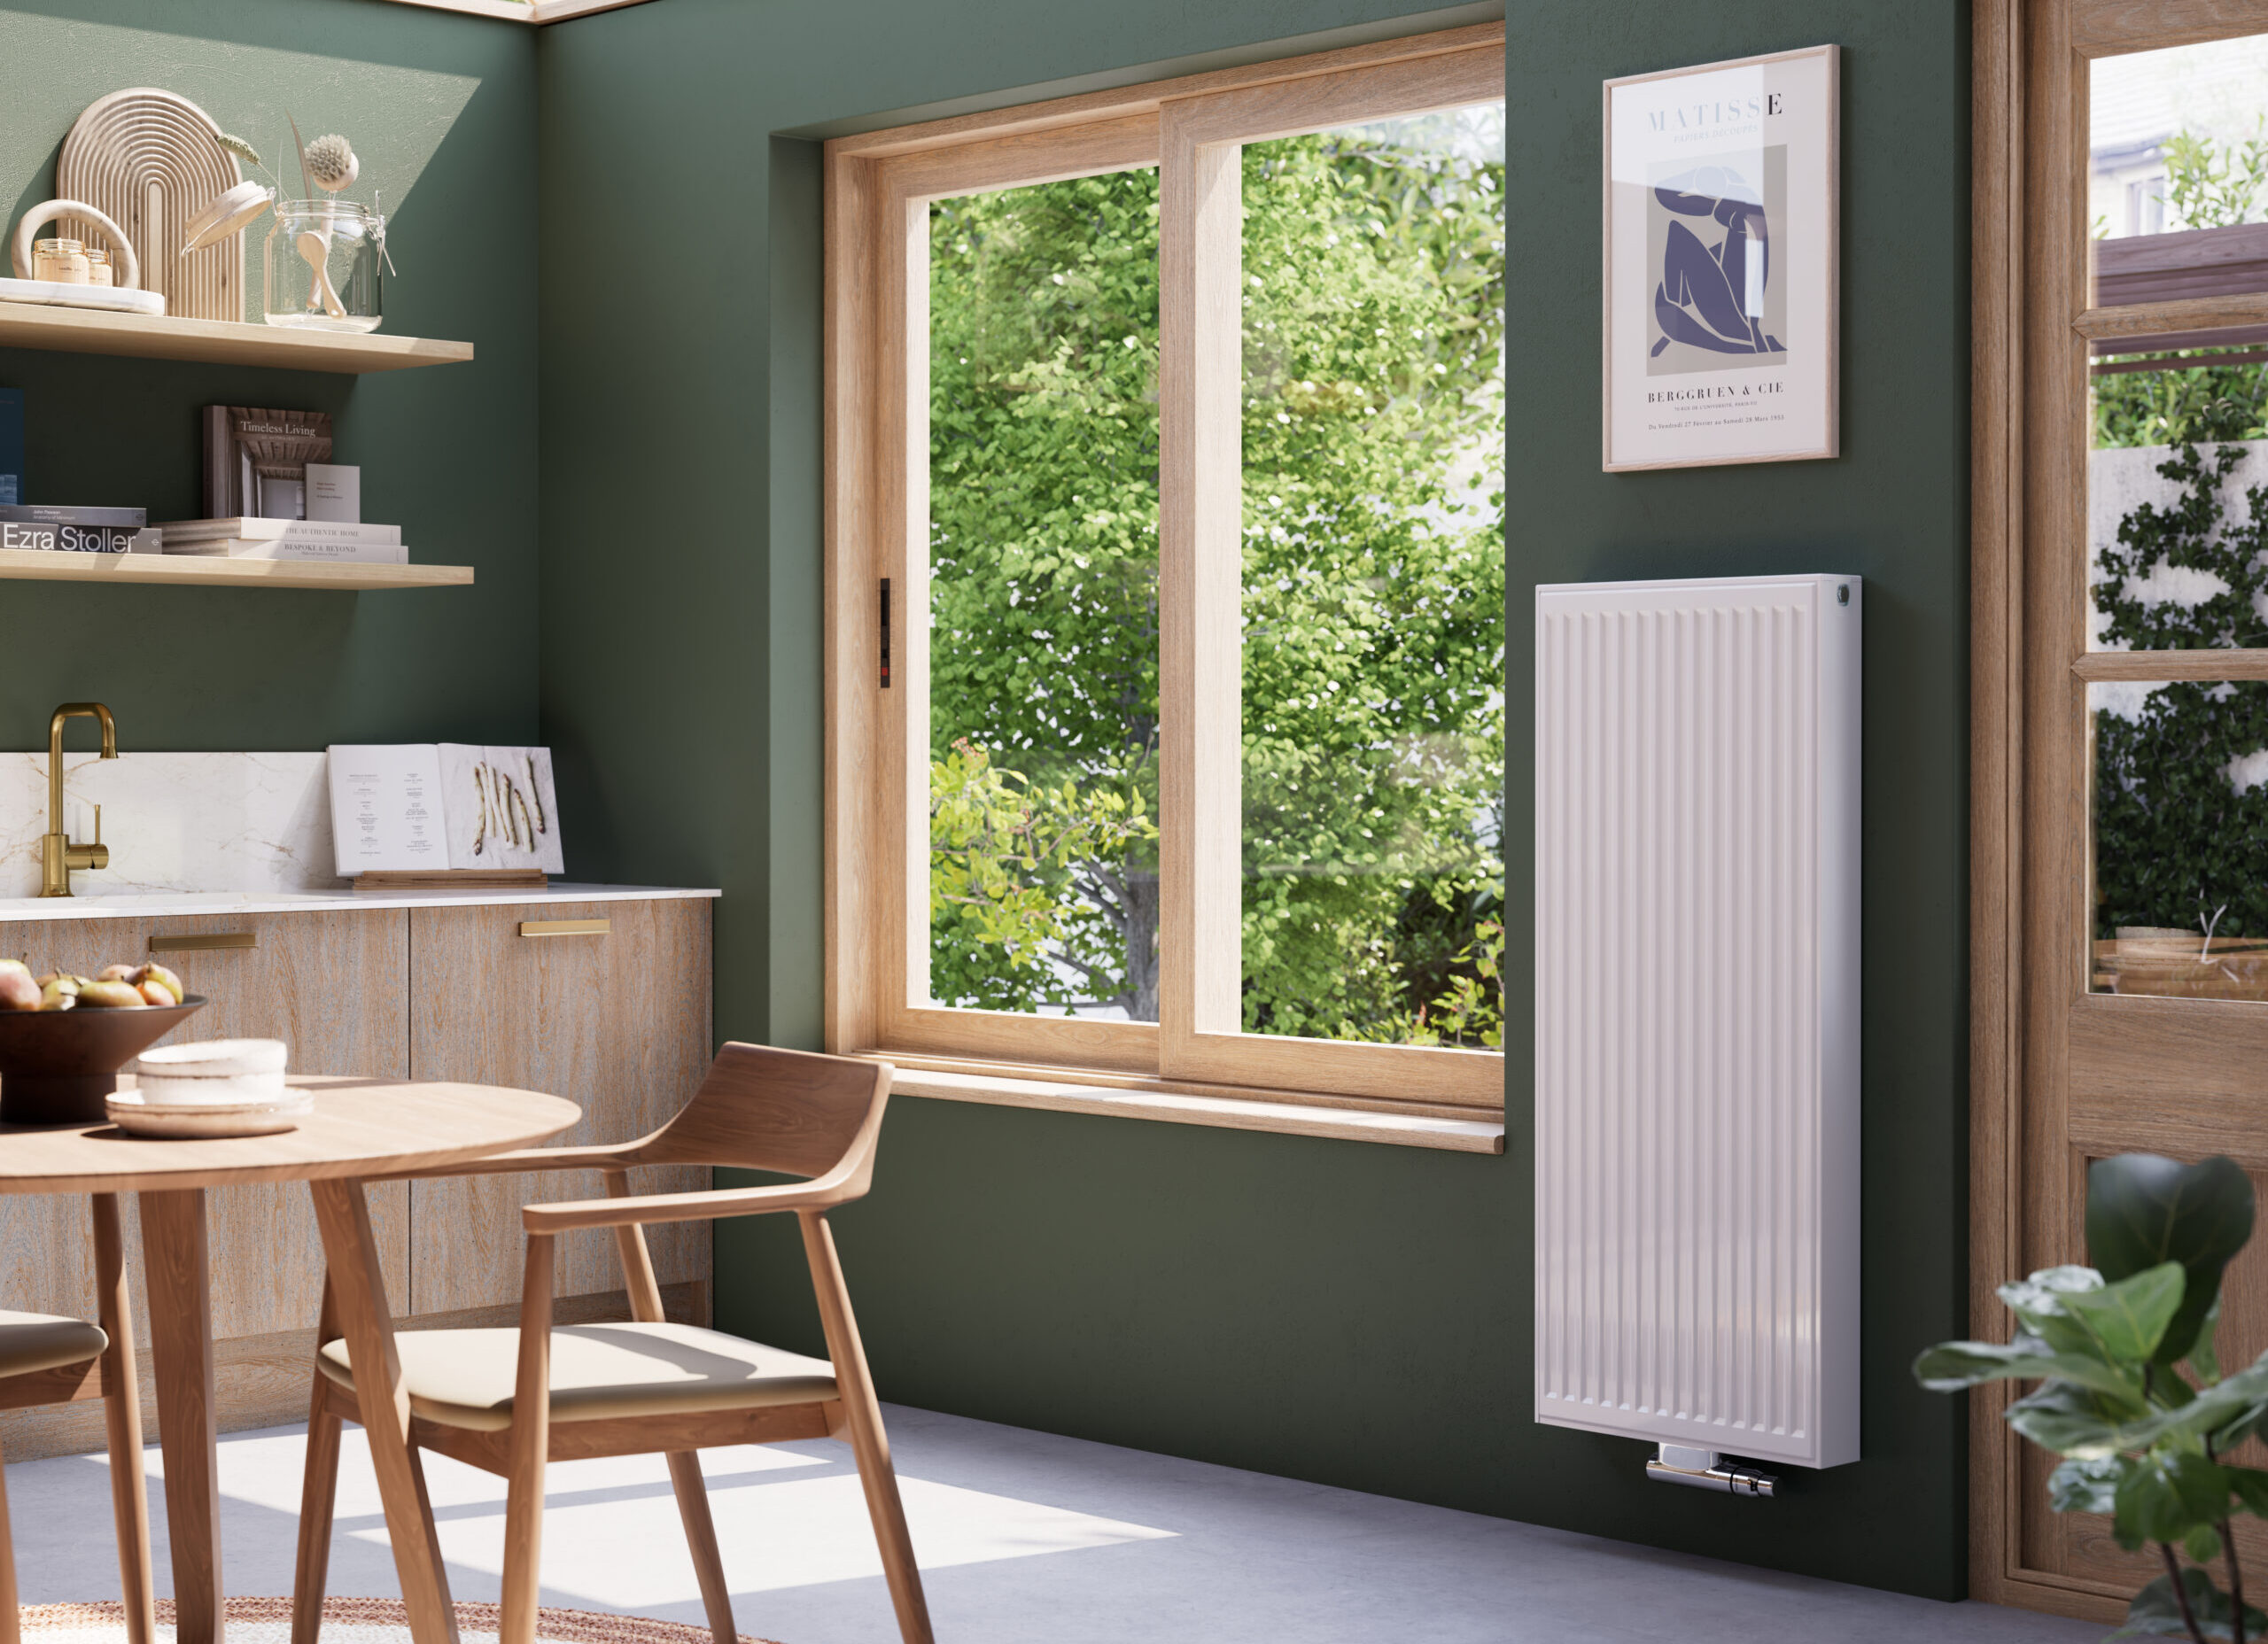
Furthermore, you will also need to check whether your wall is solid masonry or made from plasterboard. If the wall is solid, you’ll be able to pick a replacement radiator from a wider choice as the wall is stronger and will be able to carry most styles and designs. For example, if you like our cast iron column radiators, these will need to be hung on solid walls.
On the other hand, the plasterboard will impact the choice of a replacement radiator. You will need to find what are known as “studs” – the vertical or horizontal pieces of timber that the plasterboard is attached to. Your radiator will need to be hung from these to ensure it can be held well when changing a radiator. Depending on the location of your wall studs in plasterboard, you may be limited to the shape or size of the radiator you can use in the space.
How to Change a Radiator?
Follow the instructions below for changing a radiator:
Step 1:
- When measuring your radiator initially, you would have measured the pipe centres. It’s easy to change a radiator when using the same pipe centres. However, if you’re changing this, then it will mean you’ll have to re-arrange the pipework, and it’s best to get a plumber to do this bit.
Step 2:
- Once you’ve confirmed the pipe centres are correct, you will need to turn off the heating and isolate the radiator. It’s important to remember that your heating system is interconnected with water circulating the pipes throughout the house. Therefore, it’s essential to isolate the radiator before taking it off the wall to avoid water flooding the floor.
- You can read our guide on how to isolate a radiator here.
- Our top tip: make sure you count and note the number of turns so that you can reset the new radiator at the same flow rate after you’ve fixed the radiator and need to re-open this valve.
Step 3:
- While isolating the radiator, you will need to catch any water while it drains – hence why we advised having a paint roller tray.
- Once you have turned the valves off, you can use a spanner to loosen the swivel nuts that connect the valve to the radiator.
Step 4:
- Next, you will need to open the bleed valve, catching and emptying the water as you go. Be ready with cloths to mop up any spillage.
- Once all the water is drained, you can disconnect the other valve and lift the radiator from its brackets. Tilt it to one side to drain any remaining water.
- Fill the outlet at one end with an old rag or tissue to stop the radiator from leaking and put it to one side.
Step 5:
- Once the radiator is removed from the wall, you will need to assess the existing brackets. Most likely, you will need to change these according to the new radiator. You will also need to fill any holes in the walls from previous brackets.
Step 6:
- When changing a radiator, it’s important to assess the wall space as previously mentioned. Before you drill in your new brackets, make sure you’ve checked what’s behind the wall. This will avoid you drilling into hazards such as cables, pipes, or studs. You can use a multi-purpose digital detector.
Step 7:
- Fit the brackets to the wall and then assemble your radiator to the brackets.
Step 8:
- There’ll be some air in the radiator, so you’ll need to bleed it to release this. See our guide on how to bleed a radiator.
- Close the bleed valve and reconnect the water piping and valves before switching on your water supply.
- Remember to bear in mind the number of turns it took to isolate the radiator so you can reset the new radiator at the same flow rate.
How to Change a Radiator – After Care
Every time you replace, drain, or add new water into a radiator system, you add fresh oxygen-rich water. Oxygen + Water + Metal = rust. There is such a thing as ‘new radiator syndrome’ when all the rust in a system finds a new home in the new radiator, this can be inside a few months! To avoid this from happening, it’s important to check the contents of your system inhibitor and replace any diluted inhibitor once a system is drained or topped up with fresh water.
Don’t hesitate to get in touch or visit our advice page for more help and if you have any more questions on how to change a radiator. We really hope this step-by-step guide helped
 Next Working Day Delivery£18 For Next Working Day Delivery On All Products*When ordered before 2pm.*T&Cs apply