How to measure a radiator?
The short answer to the question could be – from one end to the other! However, nothing lasts forever, and some things eventually need to be replaced. This article will help you to confidently size, choose and replace your radiator. One thing to consider is that the heating system is full of water and all precautions must be taken to prevent leaks and damage to your property. Before you start the work, please ensure you are confident that you know how and what you are undertaking.
The key thing to remember is that some radiator ranges have been updated, so depending the age of the radiator will depend on the size of the replacement. There are one or two things to consider straight away when measuring a radiator for replacement. If the radiator is old, say more than 15 years old, then the dimensions of the replacement will need to be checked. If the pipe centres that feed the radiator cannot be moved, then there is also some extra thought to go into confirming the replacement.
Things to consider before replacing a radiator:
- Do I feel confident that I can measure and replace a radiator?
- Have I got all the tools needed to measure and replace a radiator?
- Do I know what to do in an emergency?
- Is the radiator the right size for the room?
- Can the pipes be moved to accommodate the new one?
- Do I need a single (larger) radiator or a double more compact and efficient one?
The first steps to replacing a radiator would be to measure the length and the height of the radiator. The length of the radiator plus the distance to the pipes (centre to centre), approximately 95mm, will give you or the merchant an idea as to the length of the new one including the valves that connect it to the system, if needed.
The ideal way to approach the replacement would be to start from fresh. With the new space offering a blank canvas for new brackets and spacing inserts to take up the difference between the existing pipes.
Once the correct size has been established, the height of the bracket in relation to the connections must be used to install the radiator. To explain this, the connection of the valve on to the pipes is key to establishing the bracket height when fixed to the wall. Once this is found, the brackets can then be centralised and mounted to accept the new emitter.
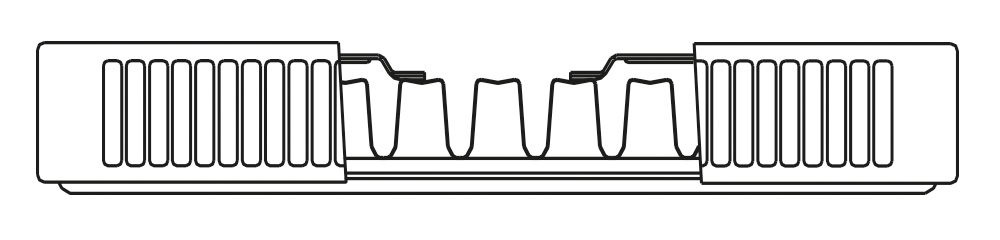
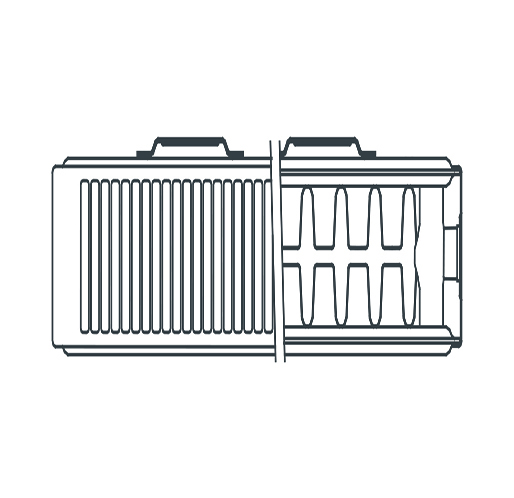
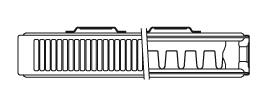
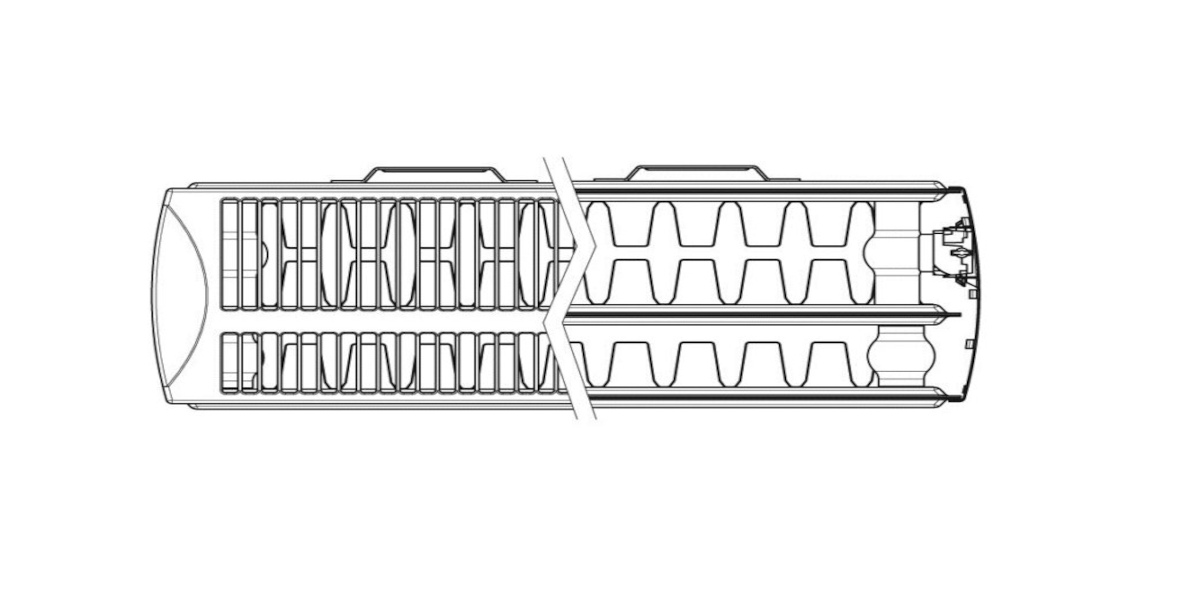
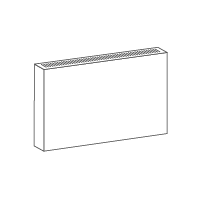
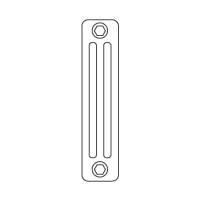
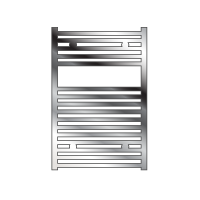
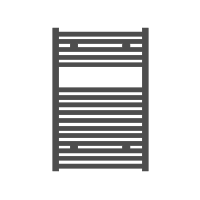
The figure shown is a side view of a standard steel panel radiator. The distance between the points (labelled A) are the measurement between the connection to the valve on the heating system and the bottom of the bracket to be fixed.
Watch our video on how to install a horizontal steel panel radiator.
Instructions on how to measure a radiator:
- Check the age of the radiator
- Measure the length and height of the radiator you have then compare this to what is available. Check out Stelrad’s range of radiators
- If there is a gap, don’t worry. This can be made up with a spacer available at the merchants
- Measure the distance between point A shown above, this determines the height of the brackets
- Offer the radiator to the space between the pipes to centralise it ready to mark the bracket positions
- Mark the wall where the brackets will be needed, this can then be levelled marked and drilled to accept the plug and screws to fix the bracket securely
- The radiator will now need the blank and air vent plugs inserting using a spanner. Also, the connection ‘tails’ for the radiator valves need to be tightened in using a spanner and PTFE tape to seal the thread.
- Once the radiator is lifted on to the bracket and checked for level, the radiator can be fitted to the valves on the heating system.
- Once connected to the system and checked for tightness, the radiator valve on one side can be turned on enough to vent the radiator (see our post ‘how to bleed a radiator’)
- Once filled, the other radiator valve can be turned on and then correctly balanced to allow an even heat distribution around the system. (See our post ‘how to balance a system’)
How do I know what size radiator I need?
The radiator in a space might be under or oversized! If the radiator was fitted over 15-20 years ago, then you may have either had new windows or had cavity wall insulation installed since the heating was first put in.
The radiator could well be incorrect now that you have a home that is essentially leaking heat less than before.
Stelrad have two programmes that can check this, then offer an alternative size to both heat the space and over the course of a year, save you money on your energy bills. Use our heat loss calculator to help you size your heat requirements.
Speak to an expert if you want to check your calculations so that you don’t overspend on your energy bills.
Also, before you take the old one off and introduce a shiny new one! Please consider the water that is circulating around the heating system. Every time you replace, drain or add new water into a radiator system, you are adding fresh oxygen rich water. Oxygen + Water + Metal = rust. There is such a thing as ‘new radiator syndrome’ when all the rust in a system finds a new home in the new radiator, this can be inside a few months!
Always check the system inhibitor content of a system and replace any diluted inhibitor once a system is drained or topped up with fresh water.
When a system has had any work to it, always check the pressure of the boiler to ensure correct levels and pressure are present to avoid any call out charges or running issues.
 Next Working Day Delivery£18 For Next Working Day Delivery On All Products*When ordered before 2pm.*T&Cs apply