There are many reasons you might need to replace a radiator. It could be due to corrosion, the radiator is old and doesn’t work anymore, or you simply want to change the style of your home. At Stelrad, we are here to help you find a radiator replacement that suits your home, so to help do so, here are some handy tips on how to replace a radiator and get your home looking exactly how you want it.
What You Will Need to Replace a Radiator
To begin with, you will need to make sure you have all the tools for the job, these include:
- Your new radiator
- Fixing equipment that will be included with your radiator
- 4 x wall fixing brackets
- Wall plugs
- Radiator to wall connectors
- Screws, bolts, and washers
- End cap x1
- Bleed cap x1
Make sure you have all the above and if you have ordered your radiator replacement online, make sure all the equipment listed is included when you receive your order. You may also need some additional equipment that won’t be included in your order. This can include the following items:
- Spanner
- Drip tray
- Radiator bleed key
- A bucket or small container to catch any water when bleeding the radiator
- Pipe cable
- A large Allen key
- Hammer drill or drill driver
- Multi-purpose digital detector
- Cloths
- Steel wool
- Masonry drill
- TRV and lockshield
You will need to have all this equipment before you sit down to start the installation of your radiator replacement.
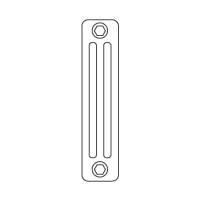
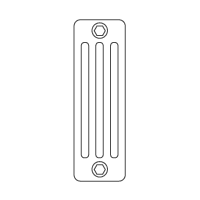
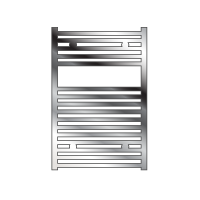
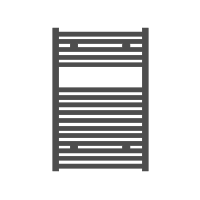
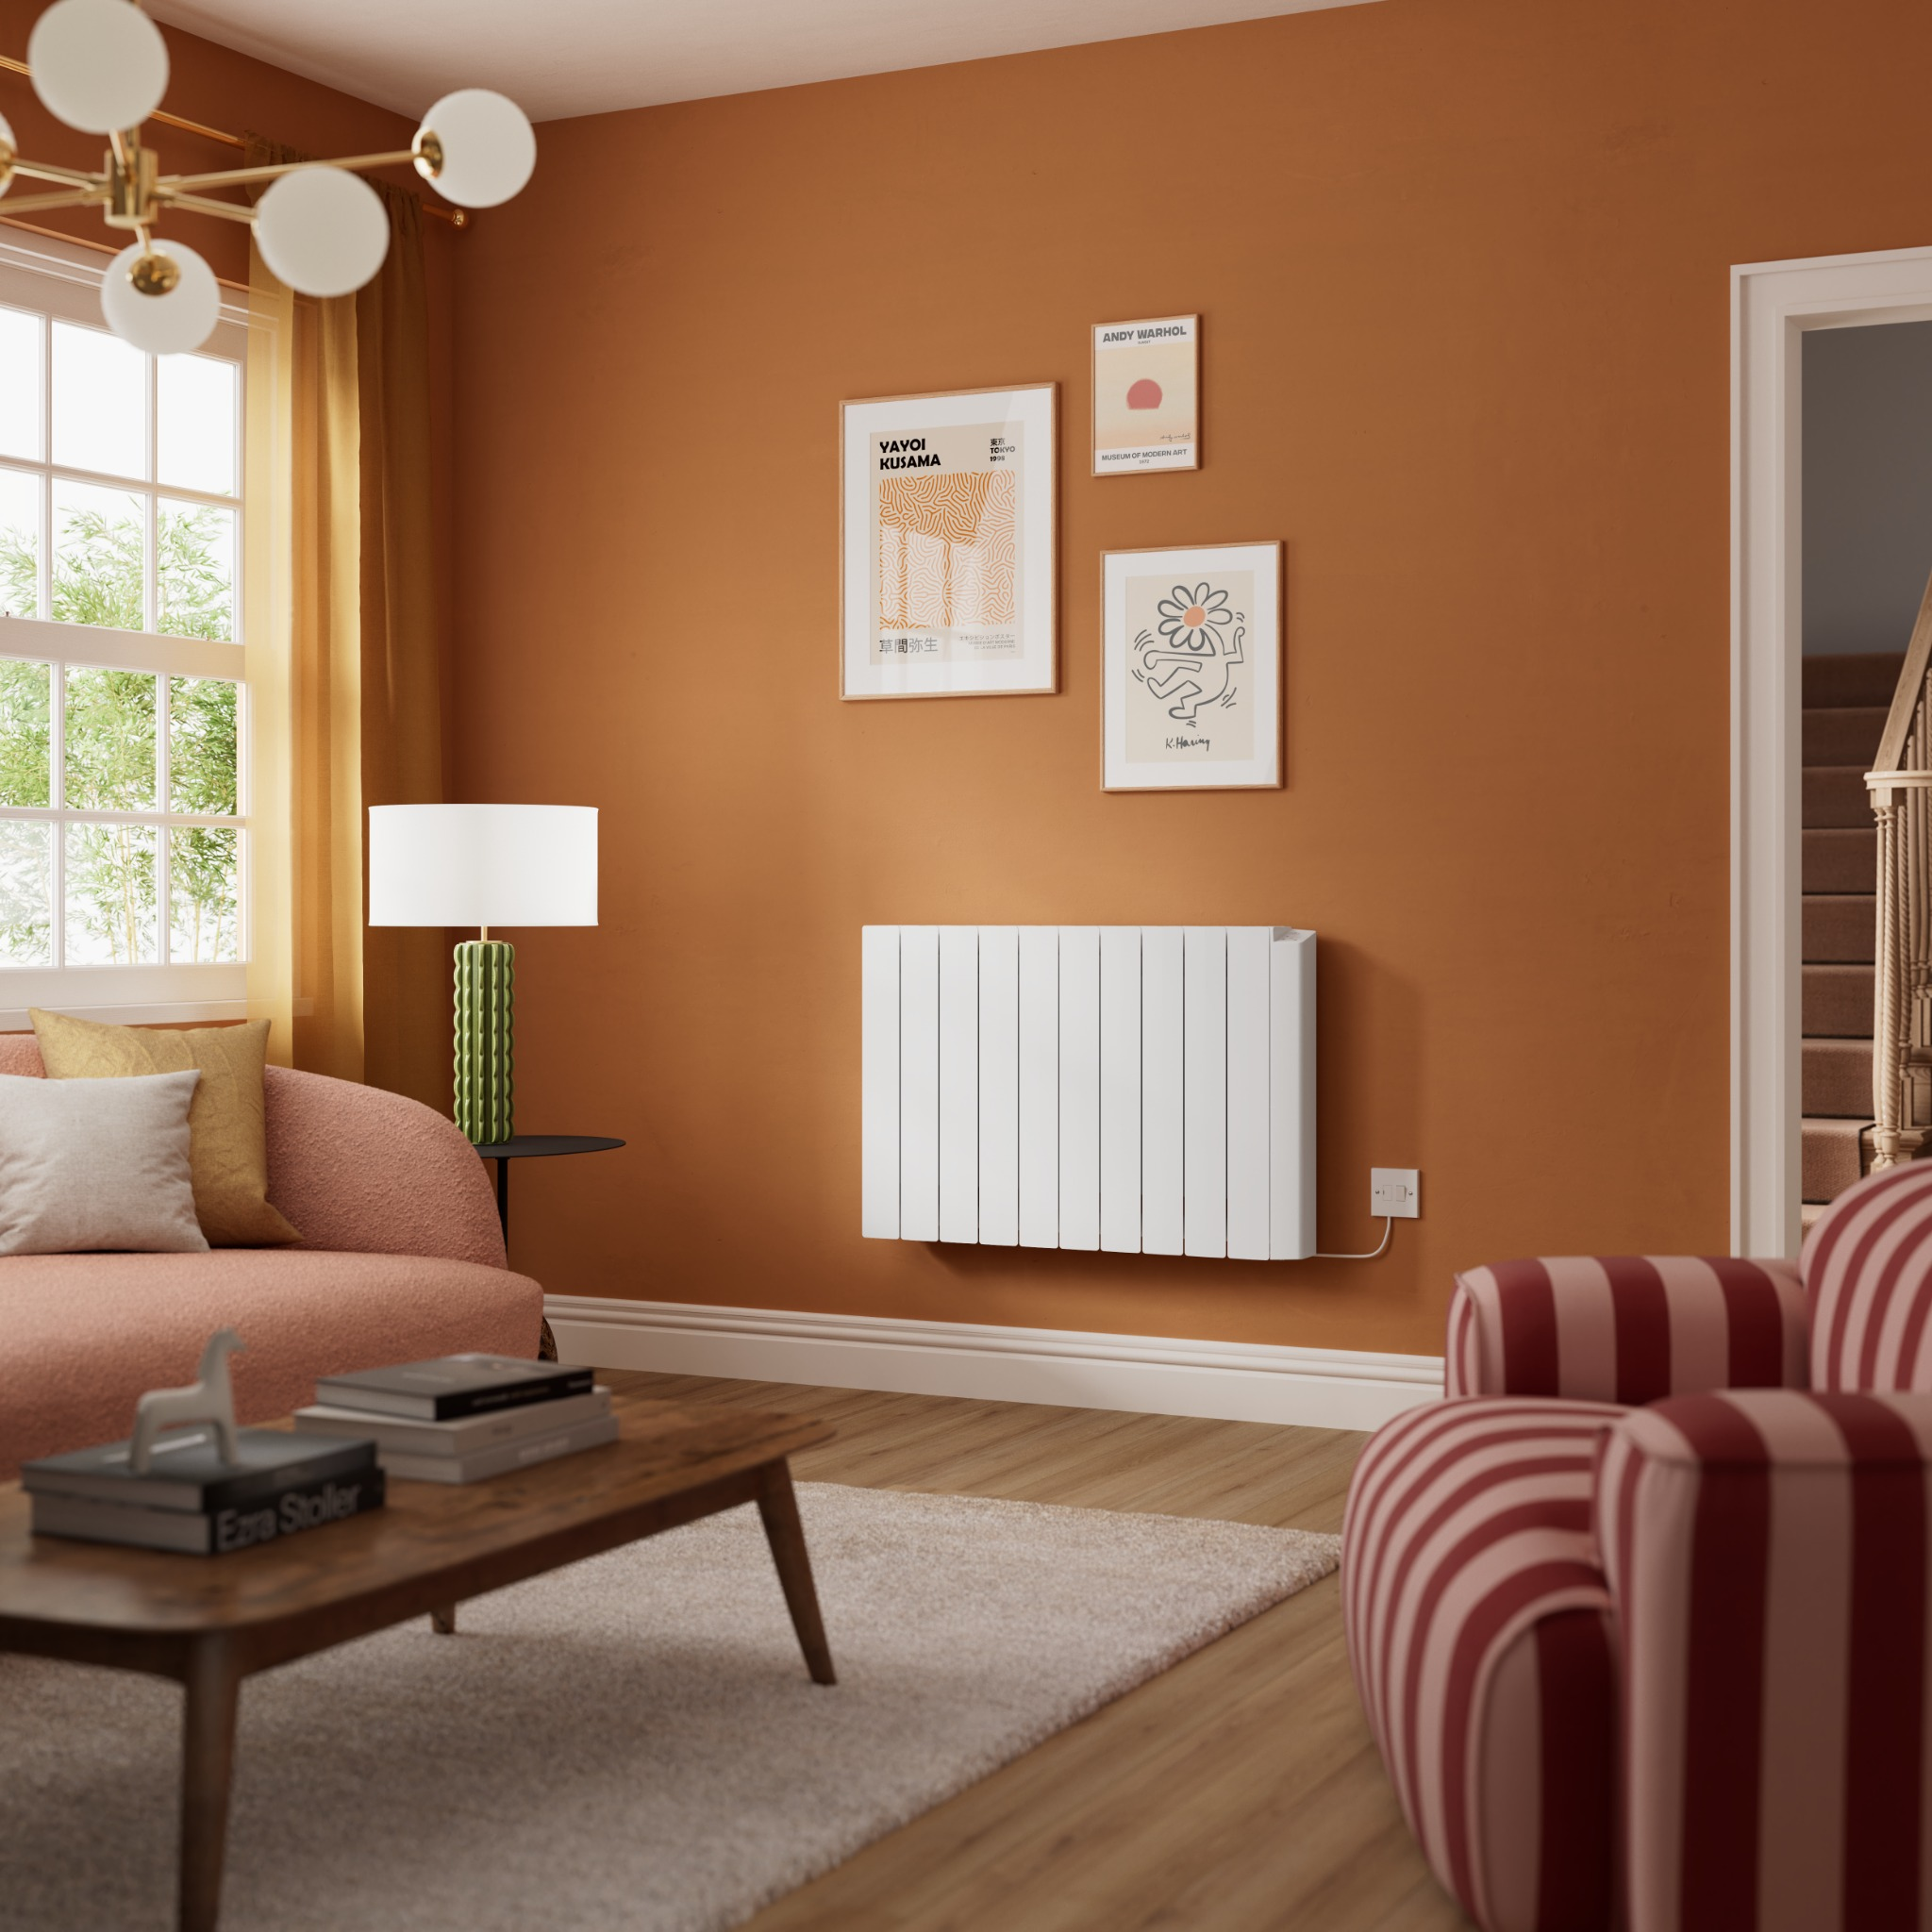
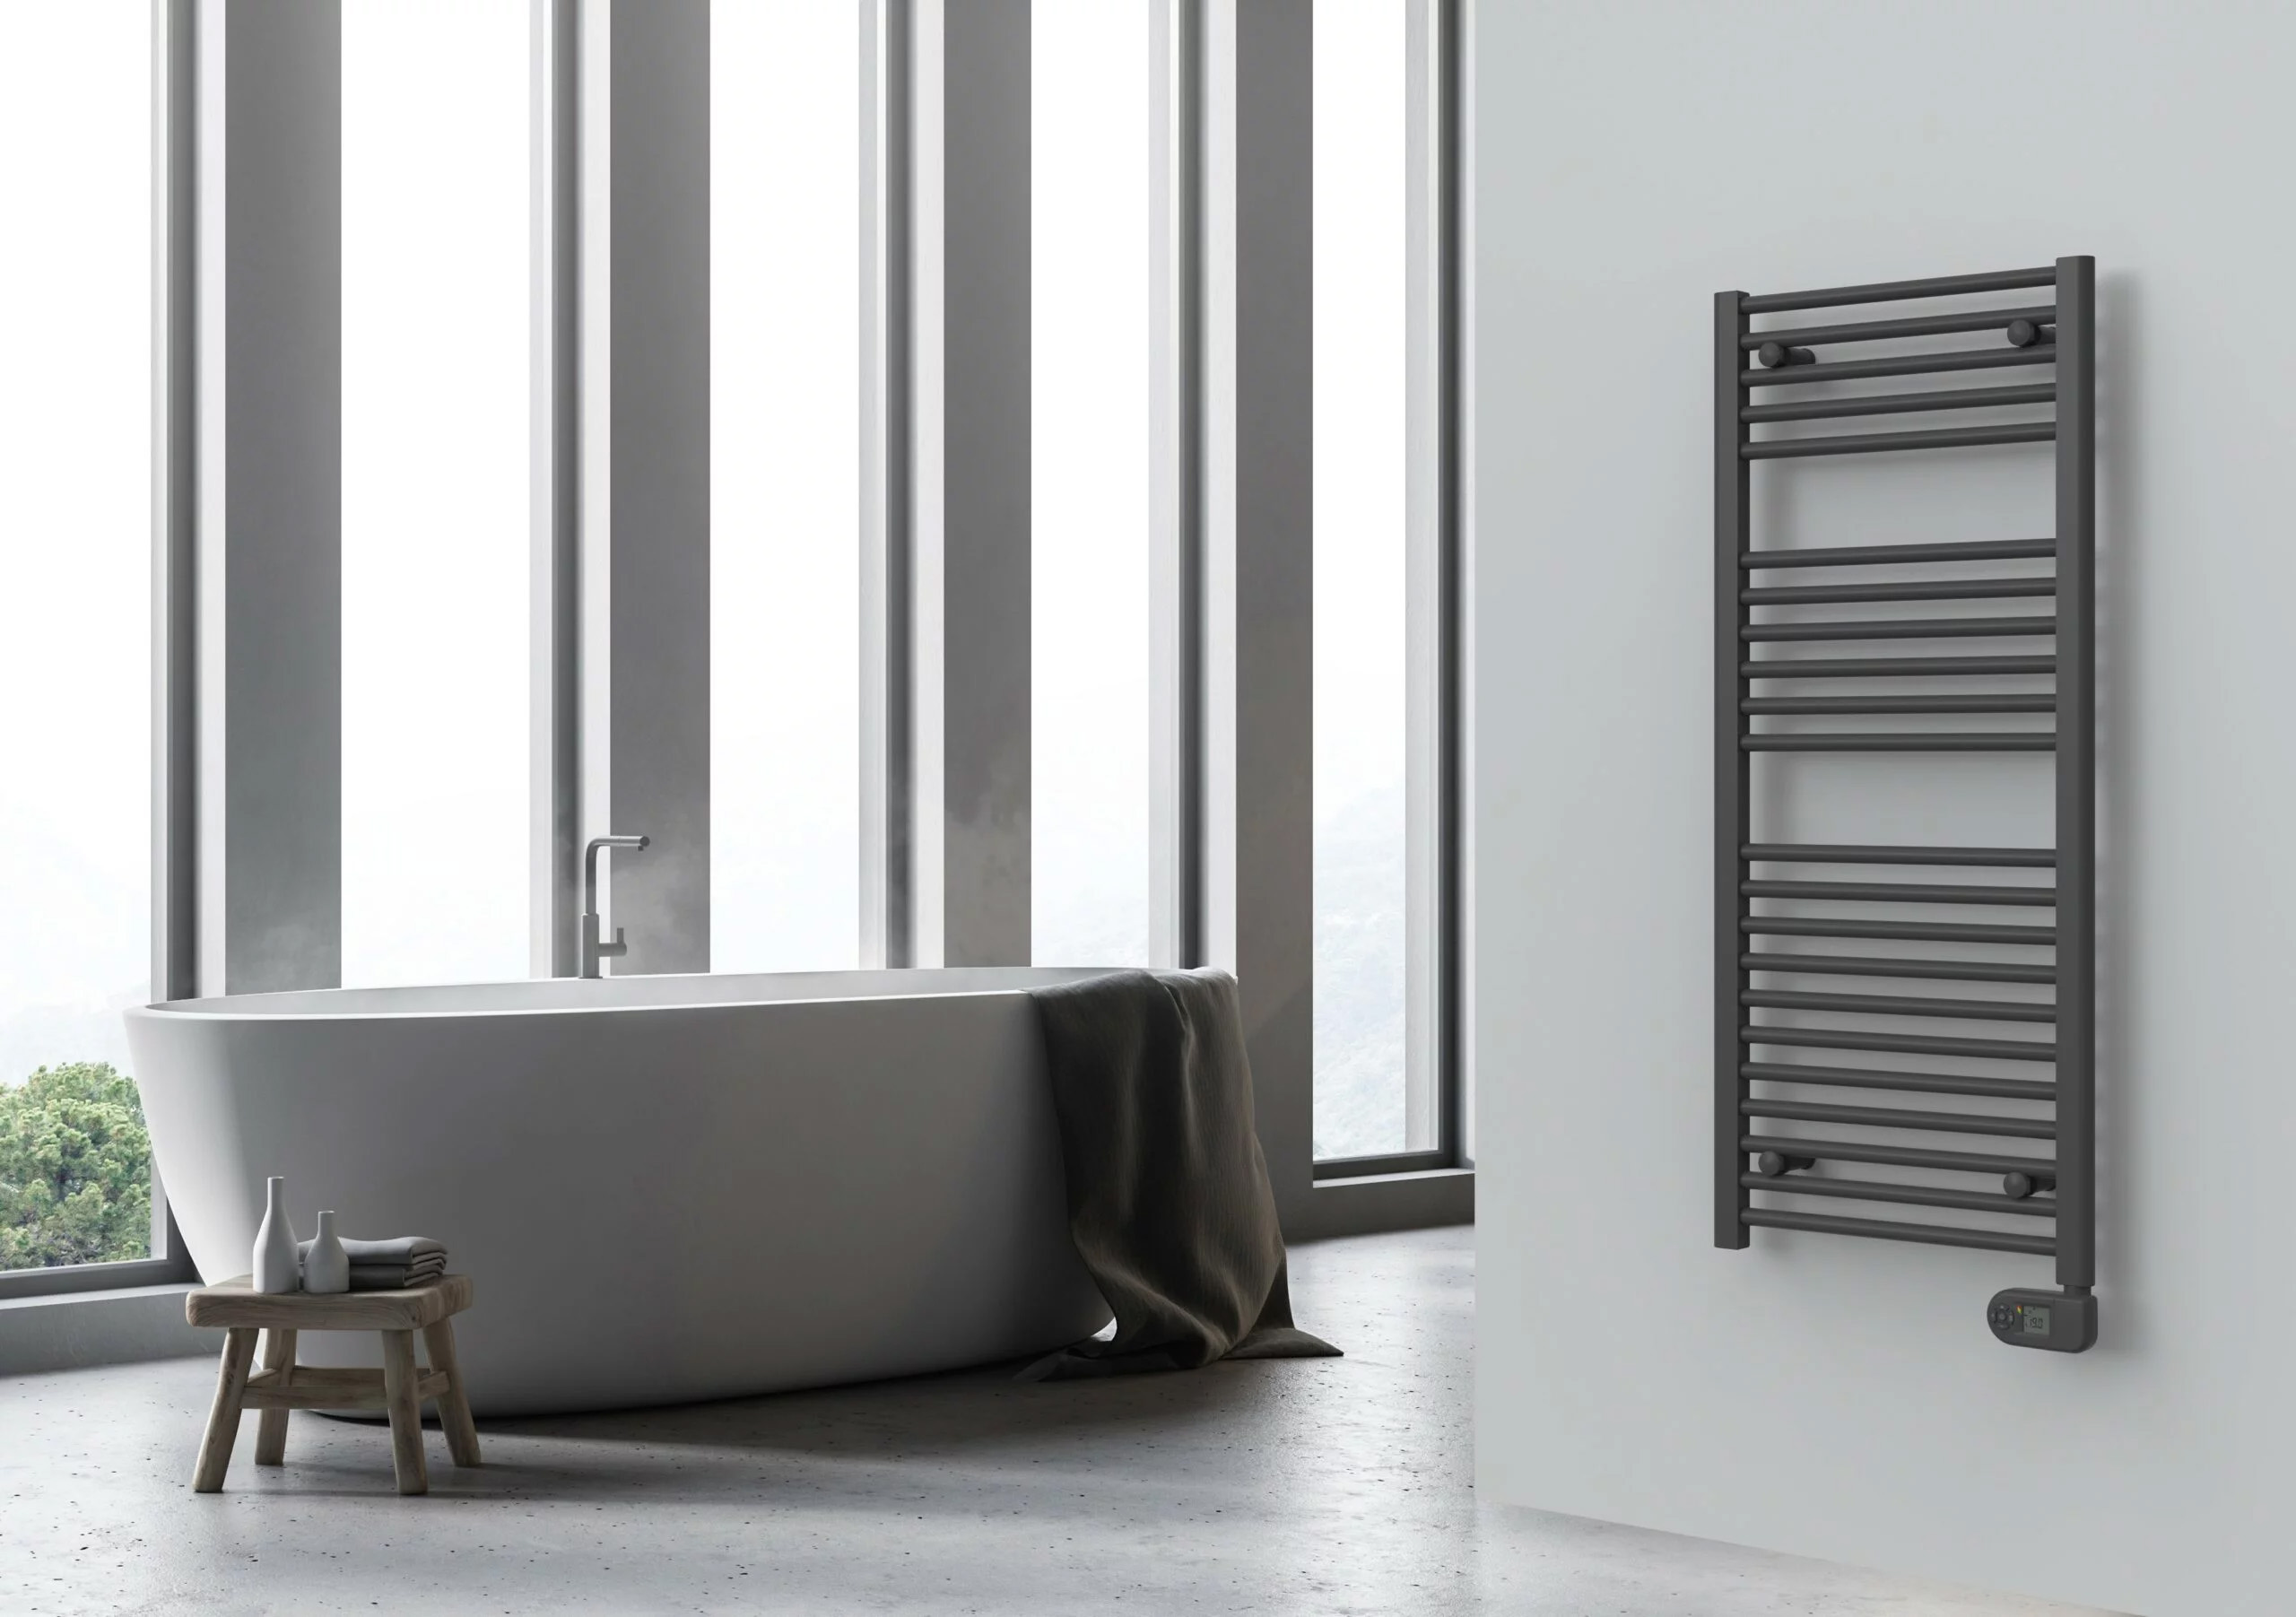
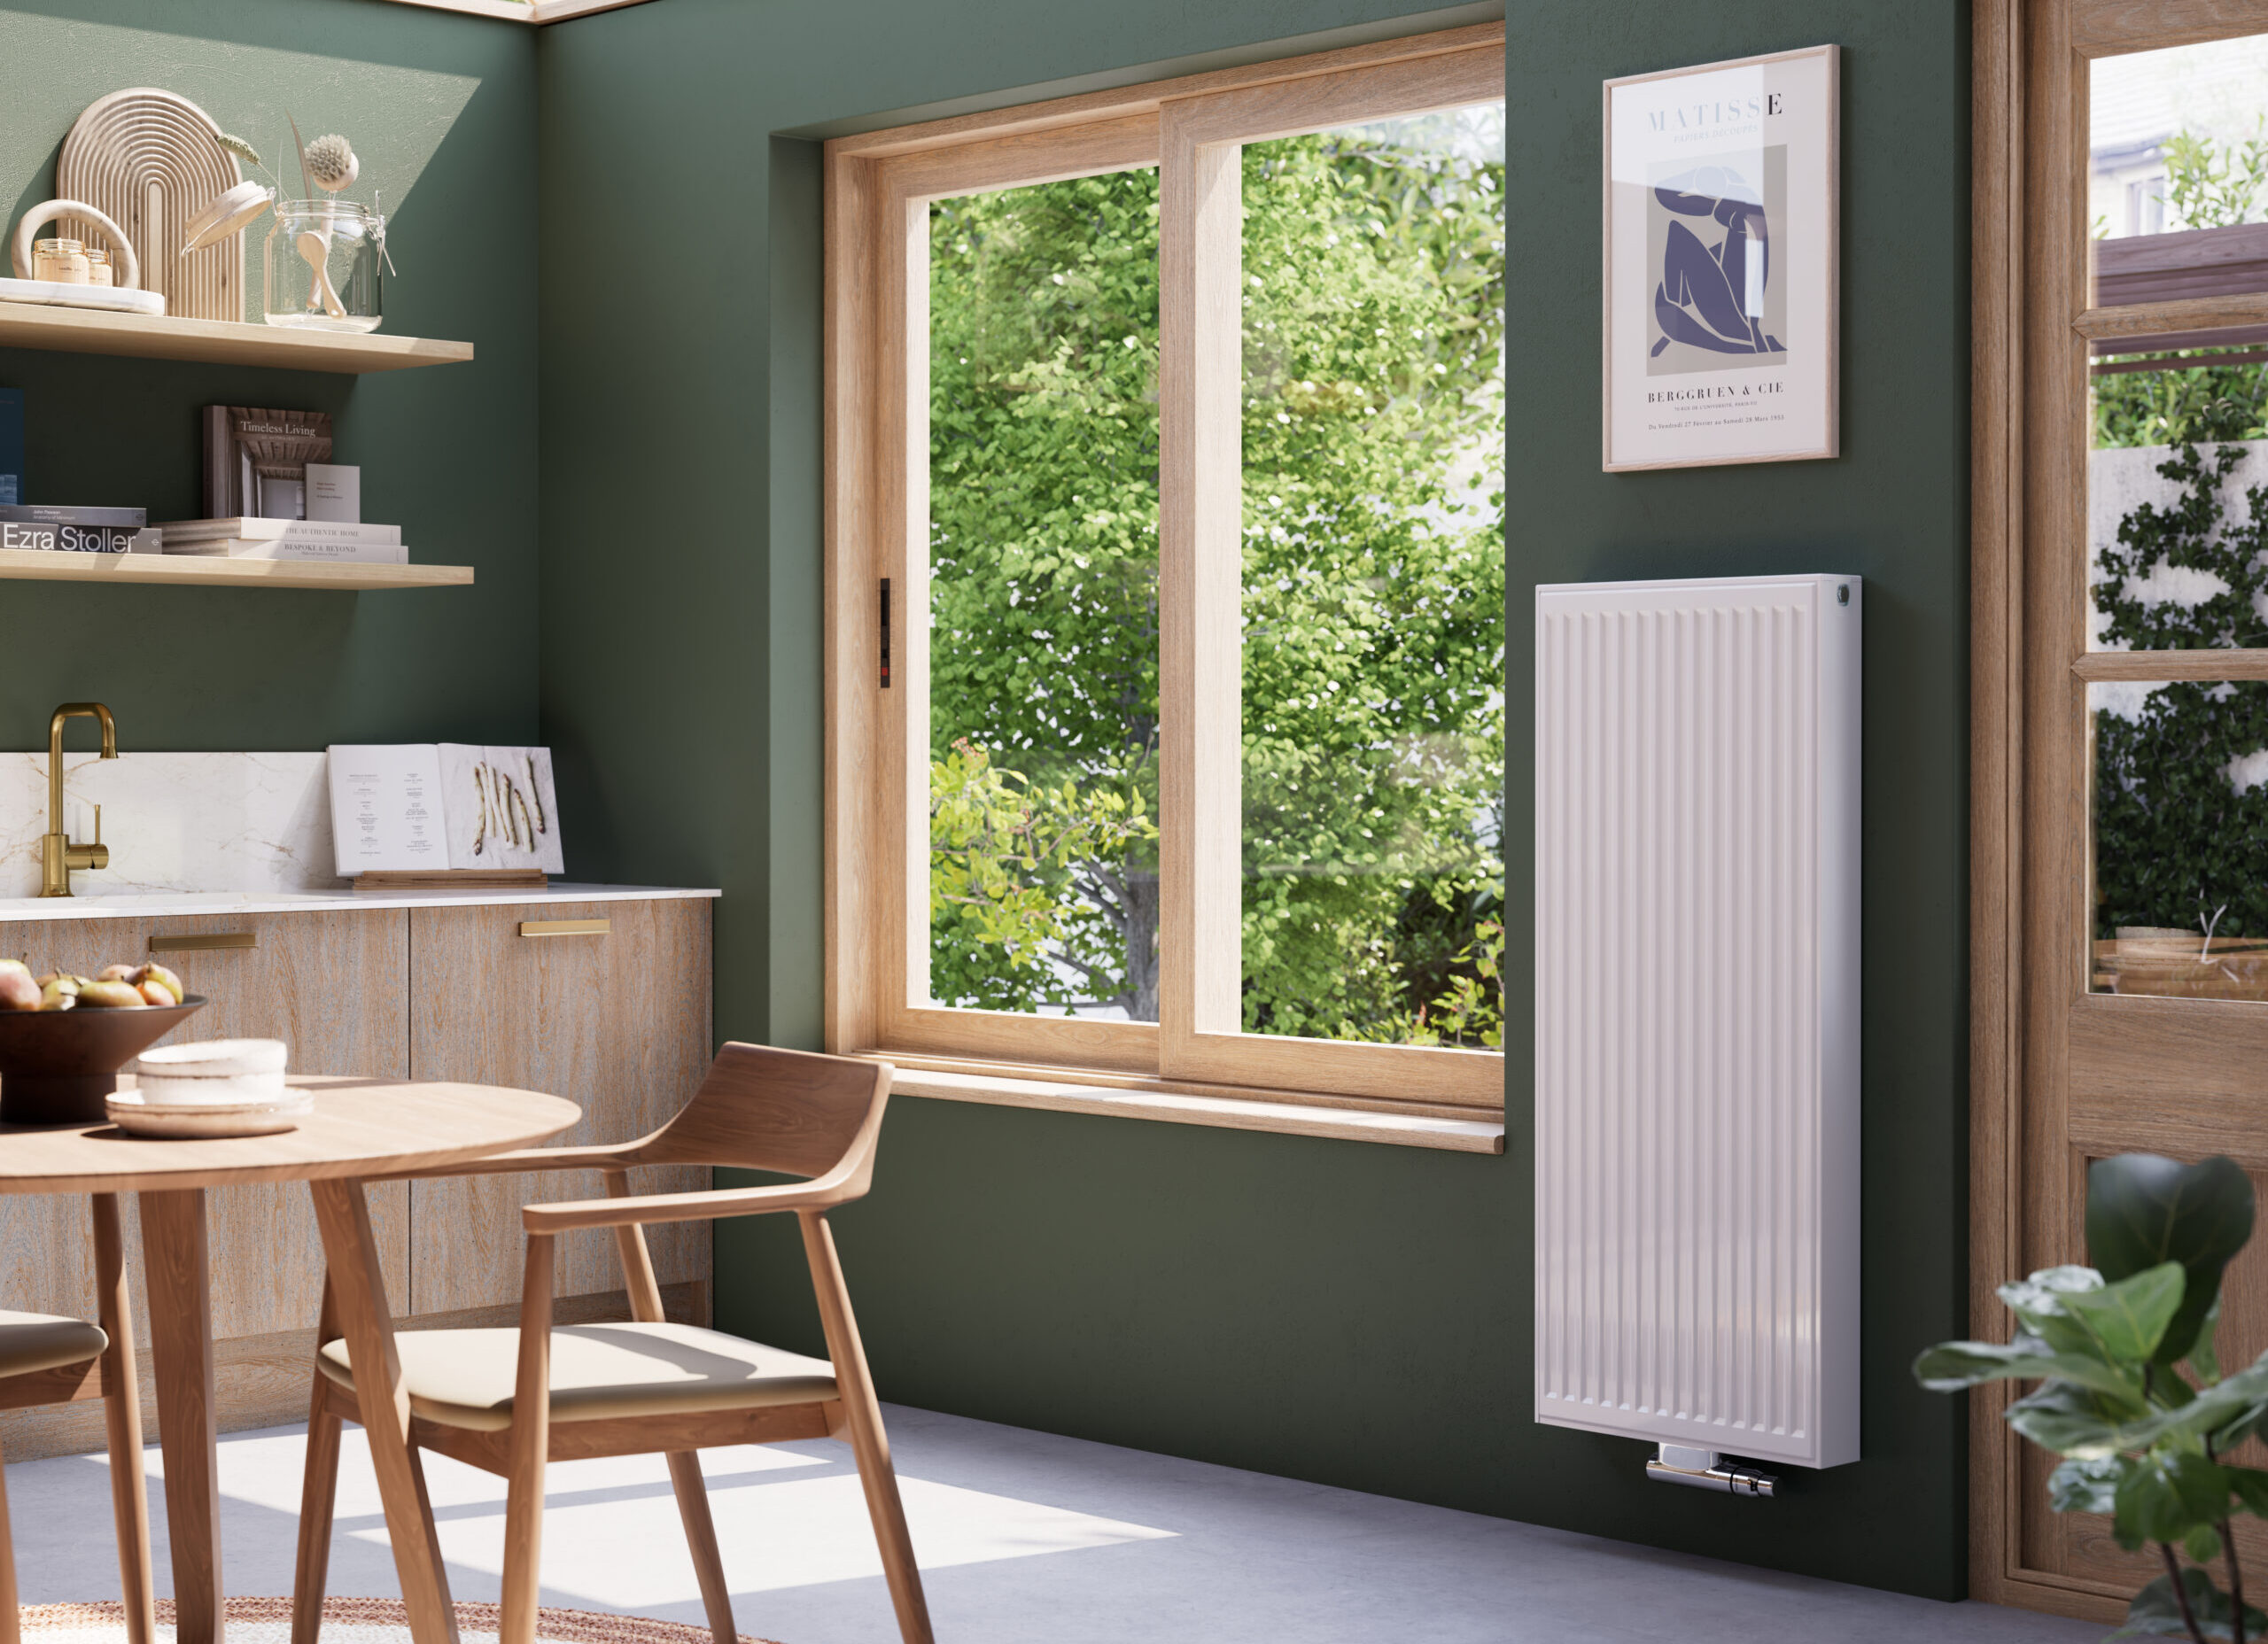
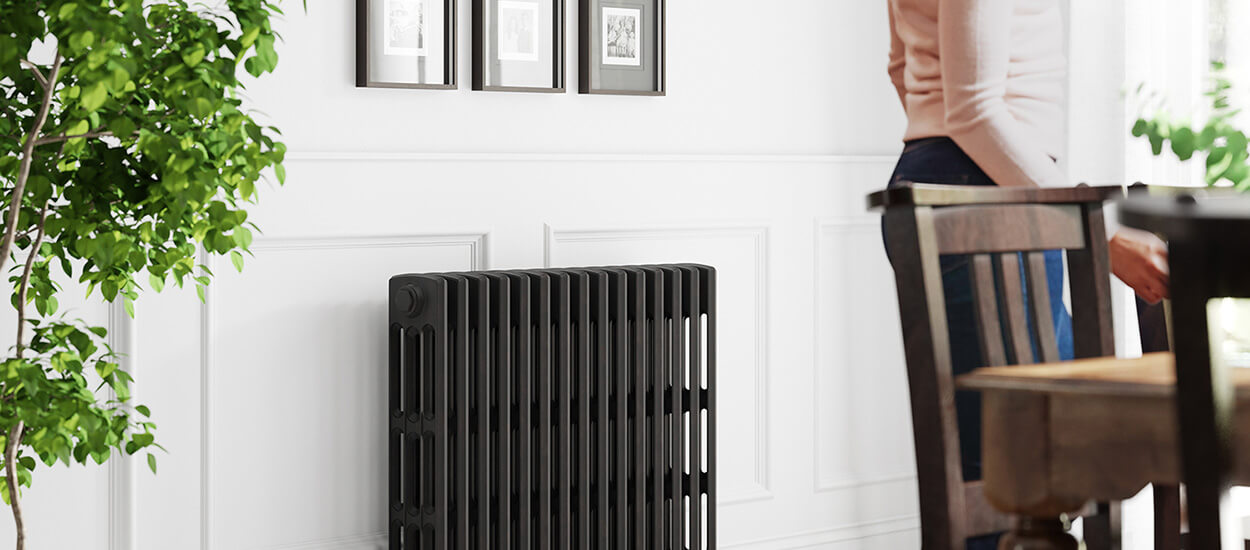
It’s crucial to check the condition of your wall before installing the new radiator replacement, if there are any cracks or the plaster is crumbling, you will need to repair this properly before you start. For those who have solid masonry walls, there are more radiator models available to you, strong walls mean more options to go for, and often stylish and trendy radiator replacements. Check out our old-fashioned radiators for vintage style homes, and elegant radiators for modern, contemporary homes. Stronger walls are ideal, as any style and size radiator will fit on them, but this will depend on the furniture in the room already and the overall size of the room. Make sure you find out where the noggins (timber plaster is attached to) run on plastered walls, use the stud detector for this. Also, ensure you hang your radiator from the studs as they are the strongest part of the wall.
Step-By-Step Instructions to Fit a Replacement Radiator
You can replace your new radiator in a few simple steps, but you will need to take your time when doing this and not rush. Here are the steps we recommend following as radiator experts at Stelrad:
Step 1:
Go for a radiator with identical pipe centres, if not, you will need to reorient the new valves and you might not be able to do this yourself. You will need the help of a plumber.
Step 2:
Firstly, make sure you have turned off the water and isolated the radiator by turning off the valves, you will find these at either end of the radiator. Turn off the manual valve by twisting it clockwise and stop when you cannot twist anymore. Your radiator could possibly have a thermostatic valve, so make sure this is on zero. For lockshield valves, it will have a plastic cover you will need to pull off and then turn the square clockwise using a spanner. Count and write down the number of turns you take; you will need to reset the replacement radiator to the same flow rate.
Step 3:
Make sure you place a tray under the valve as you don’t want water to leak out of the radiator onto the floor, whether you have a wooden floor or carpet. Make sure you have both valves turned off then use a spanner to loosen one of the swivel nuts, these will connect the valve to the radiator. Hold the valve using a second spanner and stop it from turning and buckling the pipe.
Step 4:
Find and open the bleed valve, this will be at the top of the radiator and loosen the cap nut with a screwdriver or a bleed key if you have one. If you can see the tray is nearly full of water, retighten the swivel nut and pour the water into a bucket. The cloth you have will come in useful here so you can wipe the spillage up.
Step 5:
Now, lift the radiator to ensure there is no more water draining from it. If you need help with this part, don’t hesitate to ask someone, radiators can be heavy! Stop the radiator from leaking by putting a cloth or tissue in the outlet. You can now leave the radiator aside.
Step 6:
It’s time to use the drill but ensure you don’t drill into the wall in the wrong place, you can avoid doing this wrong by using a multi-purpose digital detector. Run one of these over the surface to ensure there are no cables, studs, or pipes in the area.
Step 7:
You are nearly done; all you will need to do now is fit the brackets onto the wall and then put your replacement radiator onto the brackets.
Step 8:
The final step! Make sure you close the bleed valve and reconnect the pipe and valves. Don’t switch on your water again until you have done this. Now you will have successfully replaced your old radiator!
How to Measure a Radiator Before Replacing it
When you are searching for the best replacement radiator for your home, make sure you measure your old radiator to get the same size. For those who want to have a completely new model, you can still use the old radiator as a basis. Always use a tape measure for an accurate reading! At Stelrad, you can search for a replacement radiator by precise size in mm.
Think About the Orientation of The Radiator
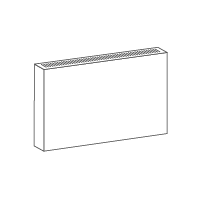
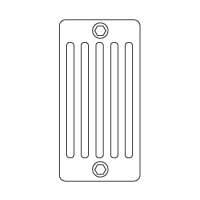
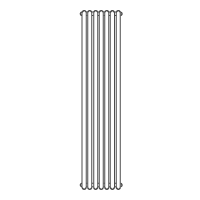
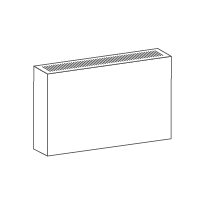
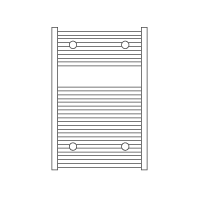
When it comes to considering how to replace a radiator, the orientation you go for will influence how long it will take to install and how simple it will be. You might need help from someone else if you have a vertical radiator replacement, as these can be heavy to fit on a wall. Horizontal radiators are naturally easier to fit as they are based on the floor, meaning you can sit down to install them on the wall. You will need to take off your old radiator first, whether you go for a horizontal or vertical radiator. If you cannot decide on whether to go for a horizontal or vertical radiator orientation, browse our range of radiators to see what you prefer.
 Next Working Day Delivery£18 For Next Working Day Delivery On All Products*When ordered before 2pm.*T&Cs apply